Cool Your Home Efficiently: Step-by-Step Attic Fan Installation with Thermostat
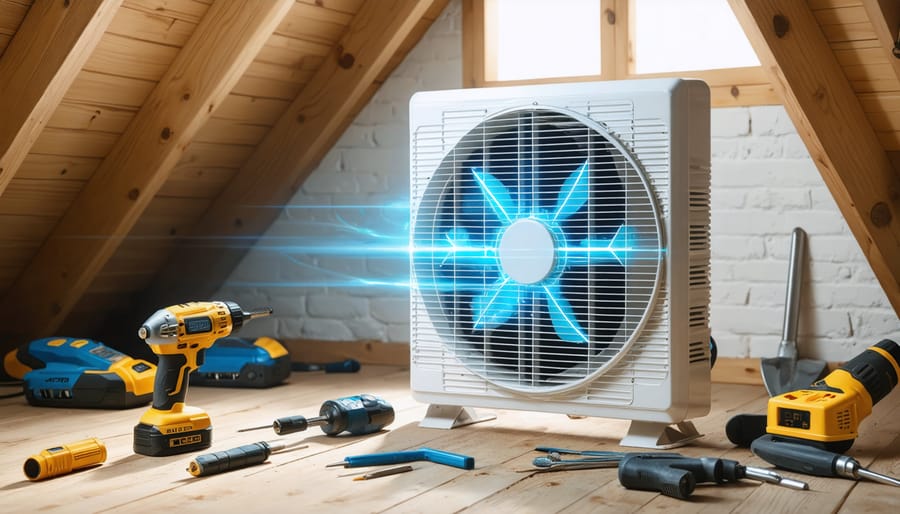
Slash your energy bills and maximize comfort by installing an attic fan with a thermostat. Select a high-quality, appropriately sized fan based on your attic’s square footage. Locate the ideal spot for installation, ensuring proper ventilation and proximity to power sources. Mount the fan securely, connect electrical wiring, and install the thermostat according to manufacturer instructions. Program the thermostat to kick on at your desired temperature, typically between 90-110°F, for optimal energy efficiency. With expert installation and smart thermostat settings, enjoy a cooler home, lower cooling costs, and the satisfaction of a successful DIY upgrade.
Preparing for Installation
Tools and Materials
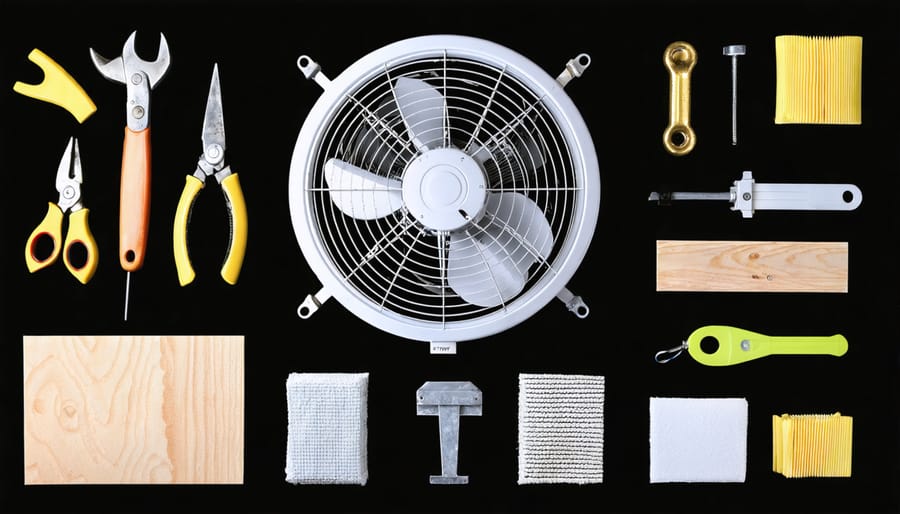
Here’s what you’ll need to install an attic fan with thermostat:
Attic fan with built-in thermostat
Reciprocating saw or jigsaw
Screwdriver
Drill with bits
Measuring tape
Level
Pencil
Safety glasses
Work gloves
Dust mask
Ladder
Extension cord
Weatherproof caulk
Roofing nails
Roofing cement
Shingles (to match your roof)
2×4 lumber (for support frame)
Drywall saw (if cutting through drywall)
Wire stripper
Wire nuts
Electrical tape
Make sure you have all the necessary tools and materials on hand before starting the project. Double-check the attic fan’s specifications to ensure it’s the right size and power for your attic space. If you’re not comfortable working with electrical wiring or cutting through your roof, consider hiring a professional to handle the installation.

Evaluating Your Attic
Before installing your attic fan, evaluate your attic space to ensure optimal performance and placement. Start by measuring the square footage of your attic; this will help you select the right fan size. Next, check your attic’s insulation. Proper insulation is crucial for the fan to work efficiently. If your insulation is inadequate or damaged, address this before proceeding.
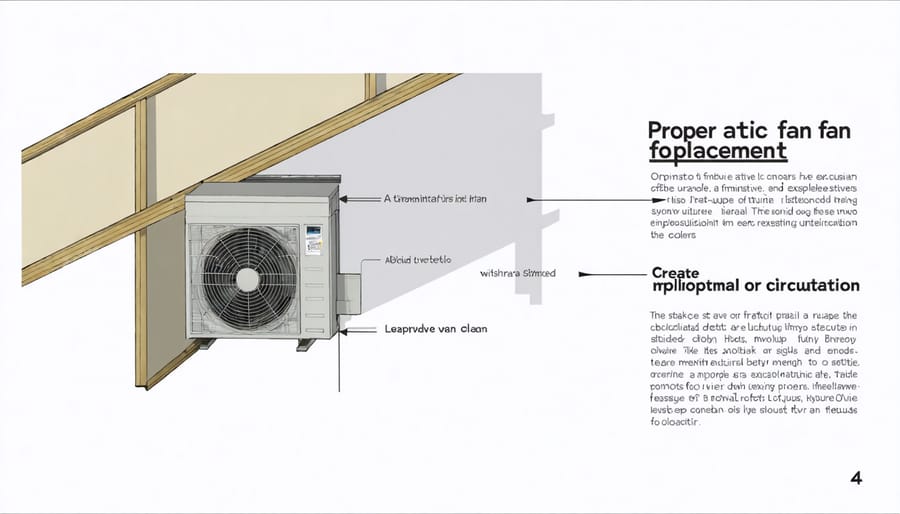
When determining the best placement for your attic fan, consider the following factors:
– Proximity to the highest point of the roof for maximum heat exhaust
– Access to electrical wiring for power supply
– Minimal obstruction from rafters, trusses, or other structural elements
– Even air distribution throughout the attic space
Take note of any existing vents, as your fan will work in conjunction with these to create proper airflow. By thoroughly evaluating your attic and making informed decisions about fan size and placement, you’ll set the stage for a successful installation that will keep your home comfortable and energy-efficient for years to come.

Safety First
Before starting any attic fan installation, prioritize safety. First, turn off the power to the attic at the main circuit breaker to prevent electric shock. Wear protective gear, including safety glasses, gloves, and a dust mask, to shield against debris and insulation fibers. Ensure the attic floor is stable and use a sturdy ladder for access. Inspect the rafters for any signs of damage or weakness that could compromise the fan’s support. By taking these precautions, you’ll create a secure environment to efficiently complete your attic fan installation while minimizing potential risks.
Installing the Attic Fan
Mounting the Fan
With the attic prepared and the fan assembly ready, it’s time to securely attach the fan to your attic’s framing or roof. Begin by positioning the fan assembly in the desired location, ensuring it aligns with the opening you’ve cut. If your fan comes with a mounting bracket, attach it to the framing using the provided hardware or appropriate screws. For a direct-to-roof installation, place the fan assembly over the opening and mark the screw holes. Drill pilot holes into the roof decking at the marked locations, being careful not to penetrate the roofing material. Apply a bead of roofing sealant around the perimeter of the fan’s flange to create a weatherproof seal. Secure the fan assembly to the roof using the provided screws or bolts, making sure they are tight but not over-tightened. Double-check that the fan is level and firmly attached. If your fan has additional supports or brackets, install them according to the manufacturer’s instructions. By following these steps and paying attention to proper Mounting the Fan techniques, you’ll ensure your attic fan is securely in place and ready to provide efficient cooling and ventilation for years to come.
Wiring the Fan
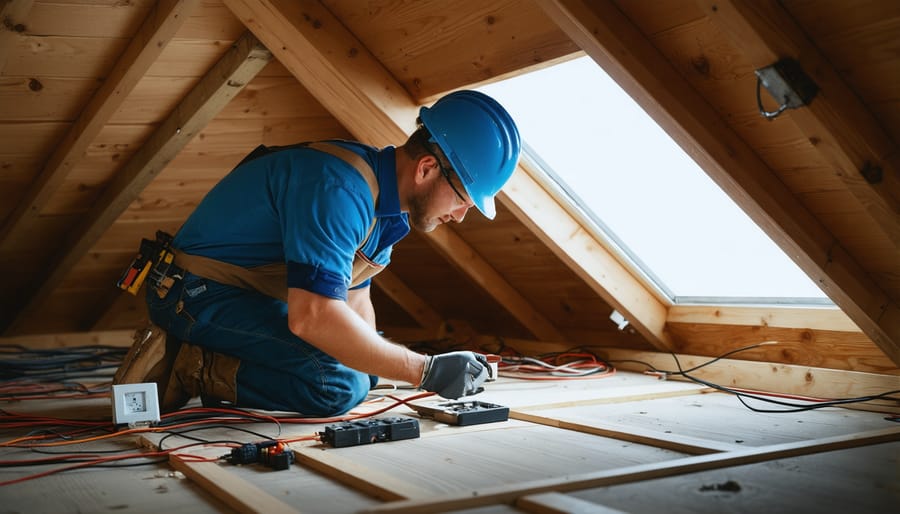
With the fan securely mounted, it’s time to connect it to the thermostat and power source. Begin by carefully running the electrical cable from the fan to the thermostat location, ensuring it’s safely secured and out of the way. Next, strip the insulation from the ends of the wires using wire strippers, exposing about half an inch of bare wire.
At the thermostat, connect the corresponding wires according to the manufacturer’s wiring diagram, typically matching wire colors. The fan wire is usually connected to the “FAN” or “F” terminal, while the power source wire connects to the “LINE” or “L” terminal. Securely fasten the wires to their respective terminals using a screwdriver.
Now, route the power cable from the thermostat to your chosen power source, such as an existing electrical box or a new dedicated circuit. Again, make sure the cable is properly secured and protected from damage. At the power source, connect the wires according to local electrical codes and the manufacturer’s instructions. This typically involves connecting the black wire to the hot terminal, the white wire to the neutral terminal, and the green or bare wire to the ground terminal.
Once all the connections are made, double-check your work to ensure everything is secure and properly connected. Gently tug on each wire to verify a solid connection, and make sure there are no loose or frayed wires. If you’re unsure about any aspect of the wiring process, consult a licensed electrician to ensure the job is done safely and correctly.
With the wiring complete, you’re one step closer to enjoying the benefits of your new attic fan with thermostat. In the next section, we’ll cover how to program the thermostat for optimal comfort and energy efficiency.
Connecting to Your Home’s Electrical
To safely connect your attic fan to your home’s electrical system, first shut off power to the circuit you’ll be using at the main breaker box. Run a dedicated 14/2 or 12/2 cable from a spare 15A breaker to the fan location, securing it to joists with cable staples. Strip the cable ends and connect the black (hot) wire to the fan’s black wire, white (neutral) to white, and bare copper (ground) to green using wire nuts. Mount a junction box nearby for these connections if needed. Double-check all connections before restoring power and testing the fan.
Setting Up the Thermostat
Mounting the Thermostat
For optimal performance, mount the thermostat in the attic space, away from direct sunlight, vents, or fans. Choose a central location that provides an accurate representation of the overall attic temperature. Secure the thermostat to a rafter or truss using the included hardware, ensuring it’s level. Position the temperature sensor probe nearby, avoiding contact with any surfaces that could influence its readings. Double-check the thermostat’s placement before proceeding, as its location is crucial for proper fan operation and energy efficiency. With the thermostat securely in place, you’re ready to move on to wiring and connecting the components.

Programming the Thermostat
Now that your attic fan and thermostat are installed, it’s time to program the thermostat to control when the fan operates. Start by setting your desired temperature range. Most attic fan thermostats allow you to set an upper and lower temperature limit. When the attic reaches the upper limit, the fan will kick on to draw in cooler outside air. Once the temperature drops to the lower limit, the fan will shut off. A common range is 90°F to 110°F, but adjust this based on your climate and preferences.
Next, decide if you want the fan to operate continuously or only during certain hours. Continuous operation ensures maximum cooling and ventilation, but may not be necessary in milder weather. If you opt for timed operation, set the thermostat to turn the fan on and off at specific times of day, typically during the hottest hours in the afternoon and evening.
Finally, choose whether you want the fan to run automatically or manually. In automatic mode, the thermostat will control the fan based on your programmed settings. Manual mode allows you to override the settings and turn the fan on or off as needed using the thermostat’s controls. Once you’ve programmed your preferences, your attic fan is ready to keep your home cool and comfortable.
Testing and Adjustments
Once your attic fan and thermostat are installed, it’s time to test the system. First, set your thermostat to a temperature a few degrees above the current attic temperature. Wait for the fan to turn on, which may take a few minutes. If it doesn’t start, double-check your wiring connections and ensure the circuit breaker is on. When the fan is running, head to the attic to confirm it’s exhausting air properly. If needed, adjust the fan’s settings according to the manufacturer’s instructions to optimize performance. Finally, allow the attic to cool down and verify that the fan shuts off when the desired temperature is reached.
Conclusion
Installing an attic fan with a thermostat is a straightforward project that can provide significant benefits for your home. By following the steps outlined in this guide, you’ll be able to properly select, mount, wire, and program your new attic fan and thermostat. With the installation complete, you can expect improved air circulation, reduced heat buildup, and potential energy savings during the warm months.
Your attic space will be more comfortable, and your home’s overall cooling efficiency may improve. The thermostat ensures that the fan only operates when needed, maintaining optimal attic temperatures without wasting energy. Whether you’re a seasoned DIYer or a first-time installer, tackling this project can be a rewarding experience that enhances your home’s comfort and efficiency.
So, gather your tools, review the steps, and take on this DIY challenge with confidence. Your newly installed attic fan with thermostat will provide lasting benefits for years to come, making your home more pleasant and potentially saving you money on cooling costs. Enjoy the fruits of your labor and the satisfaction of a job well done!
