15 Creative Wall Paint Ideas That Will Make Your Neighbors Jealous
Transform your walls into stunning focal points with paint techniques that go far beyond basic solid colors. Create dramatic texture using a dry-brushing technique, layering two complementary colors to add instant depth and visual interest. Master the art of color washing by applying translucent glazes in circular motions, building cohesive color schemes that flow seamlessly throughout your space. Elevate ordinary walls with geometric patterns using painter’s tape and contrasting shades, transforming blank surfaces into architectural statements. Whether you’re seeking subtle sophistication or bold drama, these paint treatments offer limitless possibilities to personalize your space while maintaining professional-quality results that rival expensive wallcoverings – all achievable with basic painting supplies and creative vision.
Classic Wall Paint Techniques That Never Go Out of Style
Color Blocking Magic
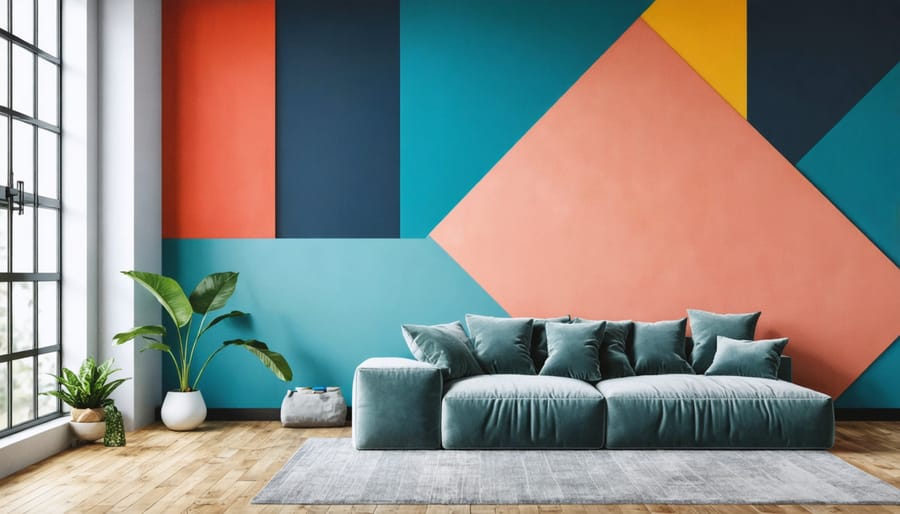
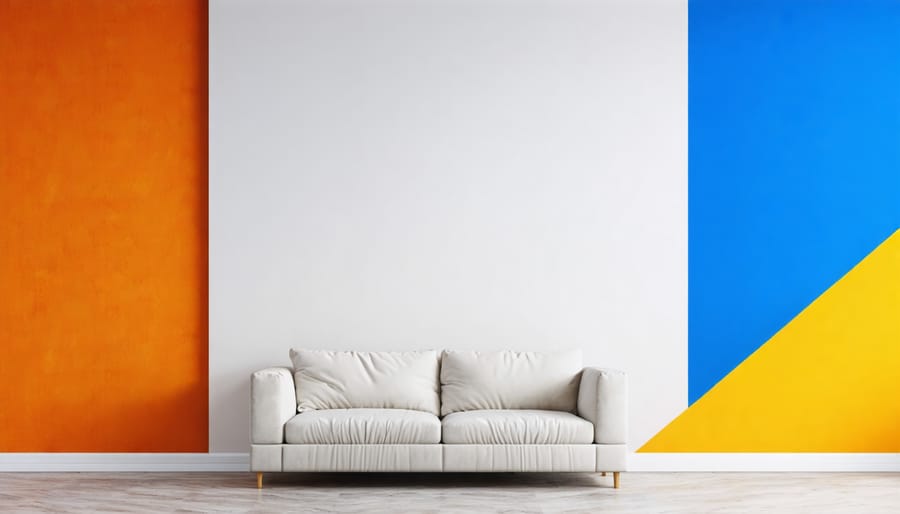
Transform your walls into stunning visual statements with color blocking, a modern twist on traditional wall decor ideas. Start by selecting 2–3 complementary colors that reflect your room’s personality. Using painter’s tape, create bold geometric shapes like triangles, rectangles, or asymmetrical patterns. Pro tip: measure and mark your design with a pencil first, then apply the tape for precise lines.
For clean edges, press the tape firmly and run a credit card along the edges to ensure proper adhesion. Paint each section one at a time, removing the tape while the paint is still slightly wet to prevent peeling. Consider incorporating metallic accents or using different paint finishes within your color blocks for added dimension.
Popular combinations include navy with blush pink, sage green with warm grey, or burnt orange with deep teal. Remember to balance bold choices with neutral spaces to prevent overwhelming the room. For best results, use two coats of paint and allow proper drying time between applications.

Textured Finishes
Textured finishes can transform a plain wall into a stunning focal point, adding depth and visual interest to any room. One popular technique is the rag rolling method, where you apply a base coat, then use a rolled-up cloth to dab or roll a contrasting color over it, creating a soft, mottled effect. For more dramatic results, try the Spanish knife technique, which involves applying joint compound in sweeping motions before painting to create a Mediterranean-inspired texture.
Want something more contemporary? The color washing technique creates a watercolor-like effect by applying a glaze mixture over your base coat and working it with a brush in circular motions. For those seeking subtle elegance, the suede technique uses special rollers and glaze to mimic the look of soft leather.
DIY enthusiasts might enjoy experimenting with the sponging technique, which requires nothing more than a natural sea sponge and two paint colors to create a dappled, organic pattern. The stippling method, achieved using a special brush or roller, creates tiny dots that add sophisticated texture without overwhelming the space.
For a more industrial look, try the concrete effect using specialized textured paint products that replicate the appearance of raw concrete. The Venetian plaster technique, while more advanced, creates a gorgeous marble-like finish that’s smooth to the touch but rich in visual texture.
Remember to always test your chosen technique on a sample board first, and ensure proper wall preparation for the best results. Most textured finishes require specific tools and multiple steps, but the dramatic transformation is worth the extra effort.
Modern Paint Treatment Trends for 2024
Ombre and Gradient Effects
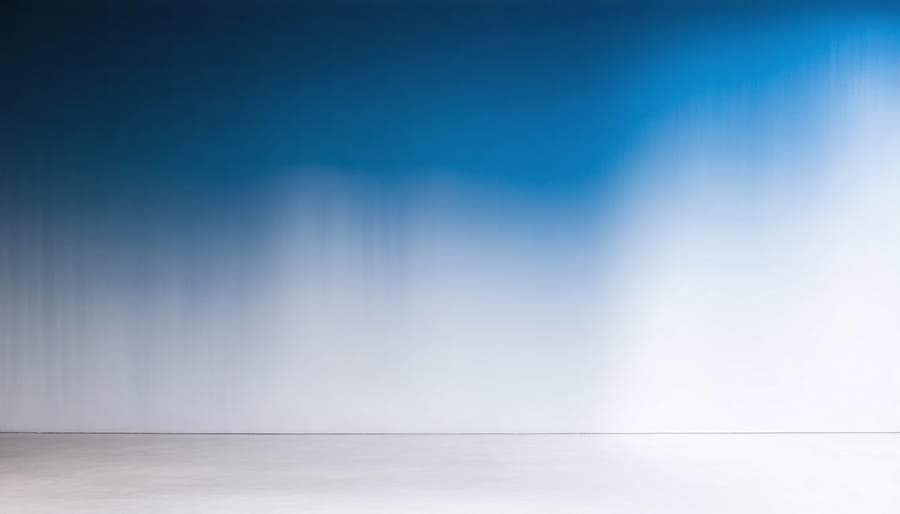
Creating a stunning ombre or gradient effect on your walls is easier than you might think, and it’s a fantastic way to add depth and visual interest to any room. Before starting, ensure you have proper lighting to see the color transitions clearly. Proper lighting techniques are essential for achieving the best results.
Start by selecting two to three complementary colors that flow well together. For a classic ombre effect, choose different shades of the same color family. Begin by painting your entire wall with the lightest shade as your base coat. Once dry, mix your colors in separate containers to create transitional shades between your main colors.
Working in horizontal sections, apply your darkest color at the bottom of the wall. While the paint is still wet, use a dry brush to blend upward into the next section. Continue this process with your transitional colors, gradually working toward your lightest shade at the top. Keep a spray bottle of water handy to maintain the paint’s workability during blending.
For the smoothest transitions, use a wide brush or roller for initial application, then switch to a dry brush for blending. Work quickly and maintain wet edges to avoid harsh lines. If you’re new to this technique, practice on a sample board first to perfect your blending technique.
For best results, work with a partner – one person applying paint while the other follows immediately with blending. This team approach helps maintain consistent wetness across the wall and ensures smoother color transitions.

Abstract Brush Strokes
Transform your walls into a canvas of artistic expression with abstract brush strokes, a technique that combines creativity with personal flair. This versatile approach allows you to create unique patterns and textures that become conversation starters in any room.
Start by selecting 2-3 complementary paint colors and gather wide brushes, natural sea sponges, or even textured rollers. Before diving in, practice your strokes on a large piece of cardboard to perfect your technique and develop confidence in your movements.
For a classic abstract look, load your brush with paint and create sweeping, gestural strokes across the wall. Vary the pressure and direction to achieve different effects – light touches for wispy strokes and firm pressure for bold statements. Layer different colors while the paint is still wet to create subtle blending effects.
Try the dry brush technique by removing most of the paint from your brush and lightly dragging it across the wall’s surface. This creates a feathered, atmospheric effect that’s perfect for creating depth. For added dimension, use a sea sponge to dab on lighter or darker shades between your brush strokes.
Remember to step back frequently to assess your work and maintain balance in your design. Don’t aim for perfection – the beauty of abstract brush strokes lies in their organic, spontaneous nature. If you make a mistake, incorporate it into your design or wait for it to dry and paint over it.
This technique works particularly well in modern spaces, home offices, or as an accent wall in bedrooms. Consider using metallic paint for one of your colors to add subtle shimmer and sophistication to your design.
DIY Paint Treatment Techniques
Tools and Materials
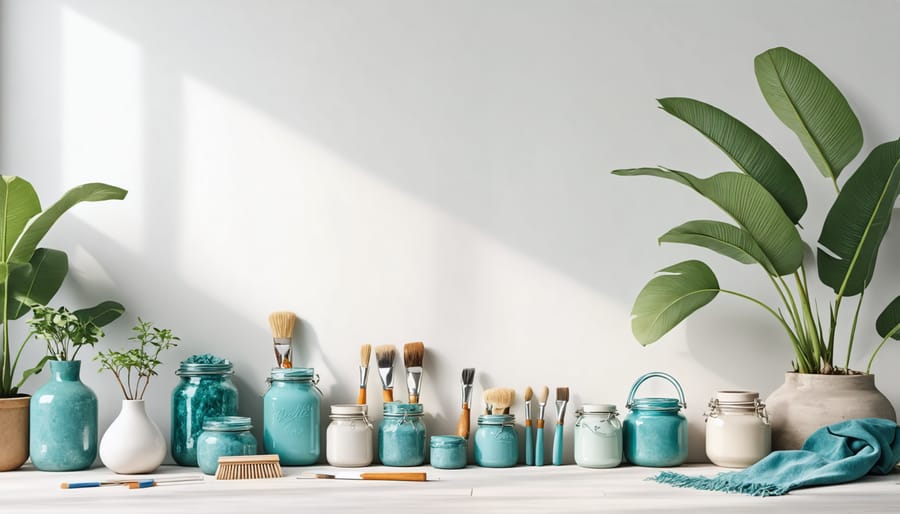
Before starting any wall treatment project, gather these essential supplies to ensure smooth execution. For basic painting, you’ll need quality paintbrushes (both wide and detail), rollers with appropriate nap lengths, paint trays, and painter’s tape. Don’t forget drop cloths to protect your floors and furniture. Consider eco-friendly paint options for a healthier indoor environment.
For specialty techniques, additional tools may include: texture rollers, specialty brushes, sea sponges for dabbing effects, putty knives for color washing, and cheesecloth for rag rolling. A level and measuring tape are crucial for geometric patterns. For stenciling, you’ll want adhesive spray, stencil brushes, and painter’s tape specifically designed for delicate surfaces.
Don’t forget safety equipment: protective eyewear, face masks (especially for spraying techniques), gloves, and adequate ventilation fans. A sturdy ladder or scaffolding system is essential for higher walls. Keep cleaning supplies handy, including paint thinner, soap, and rags for quick cleanup of any mistakes or spills.

Preparation Steps
Before diving into your chosen wall treatment technique, proper preparation is essential for achieving professional-looking results. Start by thoroughly cleaning the walls with a mixture of warm water and mild detergent to remove dirt, dust, and grease. After cleaning, rinse the walls with clean water and allow them to dry completely.
Next, inspect the walls for any damage such as holes, cracks, or peeling paint. Fill these imperfections with spackling compound and sand smooth once dry. For larger holes, you may need to use drywall patch kits. Remove any loose or flaking paint with a scraper, and sand these areas until they’re even with the surrounding surface.
If your walls have a glossy finish, lightly sand the entire surface to create a better grip for the new paint. After sanding, wipe down the walls with a tack cloth to remove all dust particles. Apply painter’s tape along trim, windows, and doors for clean lines, and cover your floors and furniture with drop cloths.
For best results, apply a quality primer, especially if you’re making dramatic color changes or working with new drywall. Let the primer dry according to the manufacturer’s instructions before starting your paint treatment. Remember to ventilate the room properly throughout the preparation and painting process.
These preparation steps might seem time-consuming, but they’re crucial for ensuring your wall treatment looks flawless and lasts longer.
Application Methods
Transforming your walls with paint requires the right technique for your chosen effect. For a classic smooth finish, start by using a roller in a W-pattern, working in sections roughly 3×3 feet. Overlap each stroke slightly to avoid visible lines and maintain even coverage.
For texture effects, try rag rolling by applying a base coat, then rolling a dampened cloth over wet glaze to create unique patterns. Sponging is another popular technique – dab a natural sea sponge in paint and apply it with varying pressure to achieve depth and visual interest.
Color washing creates a soft, weathered look. Apply your base color, then use a brush to apply a watered-down top coat in circular motions. For stripes, use painter’s tape to mark straight lines, pressing firmly along edges to prevent bleeding. Remove tape while paint is still slightly wet for the cleanest lines.
Want to try something more dramatic? Stenciling allows for intricate patterns – secure your stencil with painter’s tape and use a foam roller or stencil brush with minimal paint to prevent seepage. For an ombre effect, blend two or more colors gradually by working wet-on-wet, using a dry brush to soften transitions.
Remember to always prep your walls properly by cleaning, repairing holes, and applying primer when needed. Test your chosen technique on a sample board first to perfect your approach and ensure you’re happy with the final look before tackling the entire wall.
Pro Tips and Common Mistakes to Avoid
For the best results, always prep your walls properly by cleaning, sanding, and filling any holes before starting. A common mistake is rushing through preparation, which can lead to uneven finishes and poor paint adhesion. Test your chosen paint colors on a small section first, as colors often look different on walls than on sample cards.
When creating texture effects, maintain consistency by working in small sections and keeping your technique uniform throughout. Avoid overloading your tools with paint, as this can create unsightly drips and uneven patterns. For gradient effects, always work while the paint is still wet to achieve seamless blending.
Professional painters recommend using quality materials – don’t skimp on brushes, rollers, or painter’s tape. Cheap tools often leave behind bristles or create uneven coverage. When using multiple colors, always let each layer dry completely before applying tape for the next section to prevent bleeding.
Temperature and humidity significantly affect paint drying time and finish quality. Avoid painting in extremely humid conditions or when temperatures are below 50°F or above 85°F. For accent walls, resist the urge to freestyle – measure and mark your design carefully before starting.
One often-overlooked tip is to keep a “wet edge” while painting to prevent lap marks. Don’t start new sections without maintaining a wet connection to previously painted areas. Finally, save some paint for touch-ups, and record the exact color codes and brands used – you’ll thank yourself later when you need to match colors for repairs.
Transforming your walls with paint is an exciting way to breathe new life into any space, and as we’ve explored, the possibilities are endless. From classic solid colors to dramatic ombre effects and intricate stenciled patterns, there’s a perfect wall treatment waiting to match your style and skill level. Remember to always prepare your surfaces properly, invest in quality materials, and take your time with the application process. Whether you’re a first-time DIYer or an experienced decorator, these paint techniques can help you create stunning focal points and enhance your home’s atmosphere. Don’t be afraid to experiment with different colors and textures – sometimes the most unique combinations yield the most beautiful results. Start small if you’re unsure, and gradually work your way up to more complex projects as your confidence grows. Your perfect wall awaits!
