Create a Chic DIY Desk Partition in 5 Easy Steps
Create a functional and stylish workspace on a budget with a DIY desk partition. Measure your desk and desired partition height, then cut a sturdy base like plywood or MDF to size. Attach vertical supports securely using brackets or dowels, ensuring stability. Choose a partition material that suits your needs and elements of a quality office environment, whether it’s frosted acrylic for light diffusion, corkboard for pinning notes, or fabric-wrapped panels for sound dampening. Finish by painting, staining or covering the frame to match your décor style. With some basic tools and creativity, you can easily elevate your workspace with a custom desk divider solution that provides privacy, organization and style.
Planning Your Desk Partition
Measuring Your Space
Before cutting materials, measure your desk space to determine the ideal size and shape for your partition. Consider the height needed for privacy and the width to fit your desk. Measure the depth to ensure stability without encroaching on legroom. Use a measuring tape to record dimensions, then add an inch for wiggle room. Sketch your design on paper, marking cut lines. For an L-shaped desk, measure each section separately. Keep the partition proportional to your desk size for a balanced look. With accurate measurements, you’ll create a partition that fits perfectly in your workspace.
Choosing Materials
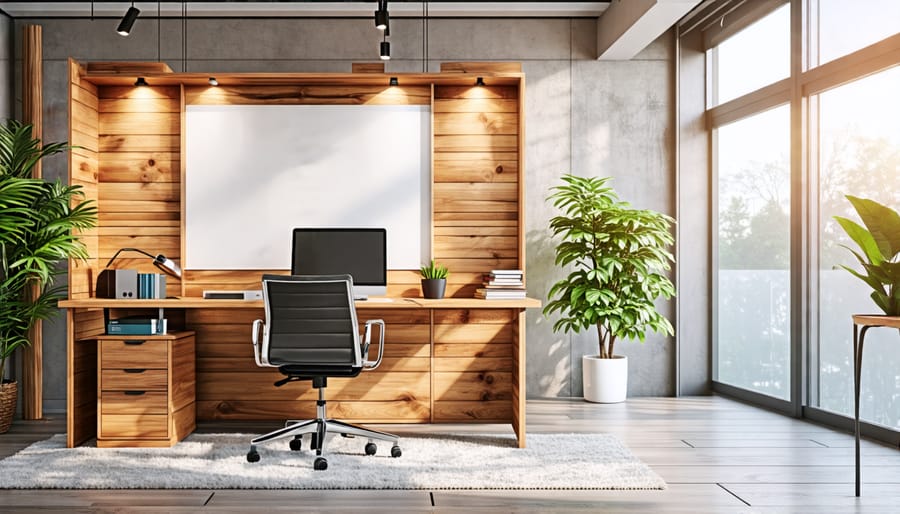
When choosing materials for your DIY desk partition, consider factors like durability, ease of working with, aesthetics, and cost. Popular options include wood, fabric, acrylic, and cardboard. Wood offers a classic look and is relatively easy to cut and assemble, but can be more expensive. Fabric partitions provide a softer, more decorative appearance and dampen sound, but may not be as sturdy. Acrylic or plexiglass creates a modern, translucent divider that lets light through, but requires careful handling and specific tools to cut. Cardboard is an inexpensive, lightweight choice, but may not be as long-lasting. Evaluate your needs, budget, and workspace style to select the best material options for your project. Consider visiting your local home improvement store to see and feel the materials in person before making a decision.
Gathering Supplies
Here’s the list of supplies you’ll need to gather before starting your DIY desk partition project:
– Plywood or MDF board for the partition base (amount depends on desired size)
– Fabric, corkboard, whiteboard, or other material to cover the partition
– Measuring tape and pencil for marking cuts
– Table saw or circular saw for cutting the board to size
– Sandpaper (100-150 grit) for smoothing cut edges
– Craft knife or utility knife for precise cuts
– Staple gun and staples for attaching fabric
– Spray adhesive for bonding materials like corkboard
– L-brackets and screws for reinforcing and mounting
– Power drill and drill bits for pilot holes
– Screwdriver for attaching L-brackets
– Paint and paintbrushes for decorating (optional)
– Decorative elements like tacks, washi tape, etc. (optional)
Make sure to select board thickness appropriate for your partition’s height – 1/2″ thick board works well for most average desk heights. Always use proper safety gear like goggles and gloves when operating power tools. Lay out all your materials in advance for a smooth building process.
Step-by-Step Instructions
Cutting and Preparing Materials
To begin cutting and preparing your desk partition materials, carefully measure and mark the dimensions for each component based on your design plan. For wood panels, use a straight edge, measuring tape, and pencil to draw precise cutting lines. Ensure your measurements are accurate to avoid wasting materials or creating ill-fitting pieces.
With a circular saw or table saw, cut the wood panels to size following your marked lines. Sand any rough edges for a clean, professional look. If using acrylic or plexiglass, score the material with a utility knife and straight edge before snapping it along the line for a clean break. Smooth out the edges with fine-grit sandpaper.
For fabric panels, measure and cut the material allowing for extra seam allowance. Use sharp fabric scissors for a crisp edge. Iron the fabric to remove wrinkles before attaching it to the frame. By carefully measuring, marking, and cutting each component, you’ll ensure a well-crafted desk partition that fits your space perfectly.
Assembling the Frame
Now that you have all your materials ready, it’s time to assemble the frame for your DIY desk partition. Start by laying out the PVC pipes on a flat surface according to your design. Make sure the lengths are correct and the joints line up properly. Next, apply PVC cement to the inside of each fitting and push the pipes firmly into place. Hold for a few seconds to allow the cement to set.
For added stability, you can use corner braces or T-connectors at the joints. Once the frame is assembled, let it dry completely before moving on to the next step. If you’re using a wooden frame instead, follow a similar process but with wood glue and screws or nails to secure the pieces together.
Double-check that your frame is square and level. Make adjustments as needed to ensure it will provide a sturdy base for your partition. With the frame complete, you’re ready to move on to attaching the panels or fabric to create the finished desk divider. Taking time to carefully assemble a solid frame will pay off in the long run with a durable, professional-looking partition.
Adding the Partition Surface
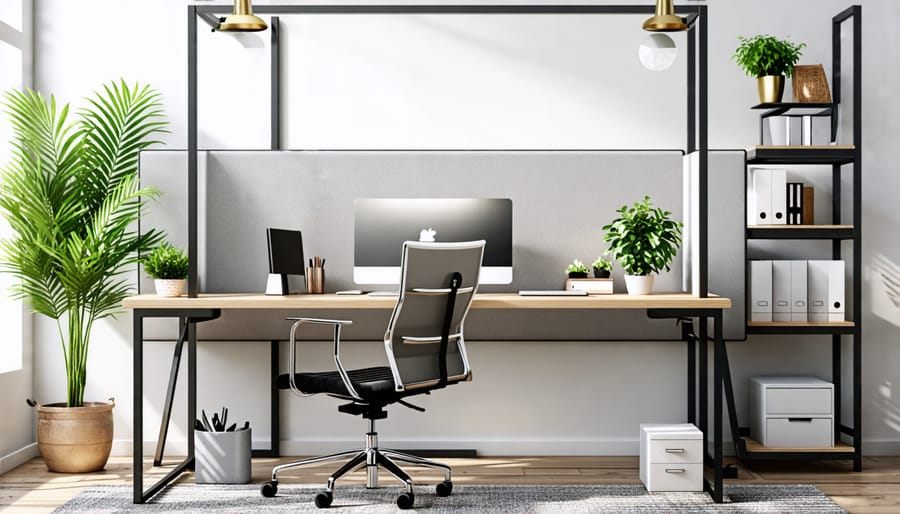
With the frame complete, it’s time to attach your chosen partition material. For fabric, stretch it taut across the frame and secure it with a staple gun, starting in the center of each side and working towards the corners. Trim any excess. If using plexiglass or wood, measure and cut panels to fit snugly within the frame. Secure plexiglass using clear silicone adhesive around the edges. For wood, drill pilot holes and screw the panels to the frame, covering the screws with wood filler for a seamless look. Once the partition material is attached, your desk divider is ready to enhance your workspace! Position it as desired and enjoy the added privacy and organization it provides. Feel free to personalize your partition further with paint, decals, or hanging accessories to make it uniquely yours.
Personalizing Your Partition
Once your partition is built, it’s time to make it your own! Personalizing your desk divider is a fun way to express your individual style and create an inspiring workspace. Consider painting the partition in a color that complements your office decor or uplifts your mood. You could also apply removable wallpaper or decals featuring patterns, textures, or motivational quotes.
For a functional touch, attach cork boards, whiteboards, or pegboards to the partition to pin notes, display photos, or organize office supplies. Hanging small shelves or wire baskets can provide additional storage space for plants, books, or personal items.
If you’re feeling crafty, try incorporating unique materials like woven textiles, pressed flowers, or vintage maps to create a one-of-a-kind look. String lights or a small clip-on lamp can add a cozy ambiance to your workspace. The possibilities are endless – let your creativity shine!
Need more inspiration? Check out these stylish DIY desk divider ideas to spark your imagination and help you design a personalized partition that reflects your taste and enhances your productivity.
Building your own DIY desk partition is a rewarding and cost-effective way to enhance your workspace. By following the steps outlined in this guide, you can create a functional and attractive divider that provides privacy, reduces distractions, and maximizes your productivity. With a variety of materials and customization options to choose from, you can design a partition that perfectly suits your needs and style preferences. Whether you’re working from home, in a shared office, or looking to optimize a commercial space, a DIY desk partition is an excellent solution. So gather your supplies, tap into your creativity, and embark on this simple yet transformative project – the benefits to your work environment will be well worth the effort!