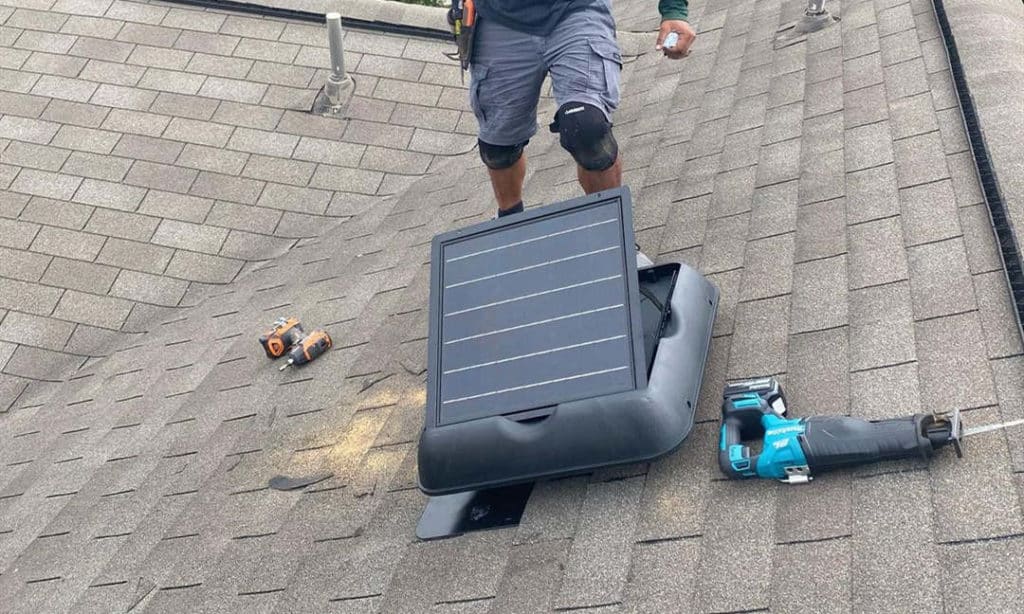
How to Install an Attic Fan
An inadequately ventilated attic can increase your home’s energy costs and damage the interior of your roofing. You must get an attic fan installed to save money at the soonest possible time. Keep in mind that working on the installation yourself may be dangerous. It may be best to consult or hire a professional electrician or installer to avoid accidents. However, we have your back if you’ve weighed up the pros and cons of a solar attic fan and you’re ready to pull the trigger on the installation.
Here are a few simple steps to guide you through the process.
Attic Fan Installation
Installation of a fan in that area is the quickest and most straightforward method if you have an existing gable vent. Another option is installing your attic fan directly on your roof. Take note that a different kind of fan will be required for these two types of installation. It would be best to check the product beforehand.
For now, we’ll focus on how to install your attic fan directly to the roof.
Switch off the Power in Your Attic
Turn off the circuit breaker or the main fuse box. Installing the fan to your roof. It’s also good to flip any attic wall switches to the off position. Consider your safety before installing the fan on your roof.
Drill a Pilot Hole
That way, when you do go up to the roof later on, you’ll know exactly where to install it. Make sure that the pilot hole is at the center of two rafters. With this technique, you can guarantee stability. Also, remember to ensure your chosen attic fan will fit your area. You can check the manufacturer’s specs or use a tape measure to determine how big your fan is. This is similar to how you would ensure you have a level floor.
Wear Protective Gear
Before going up the roof, it can be helpful to use protective clothing like a hard hat, well-fitting gloves, and boots with good traction. Also, it can be constructive on your part if you can get someone to assist you in the process when you move up to the roof.
Mark the Diameter of Your Fan
The middle of the circle should have a pilot hole bored into it. Then climb up to the roof and use a piece of chalk to produce a marker around the pilot hole.
Cut out the Circle
In this part of the process, you can use a reciprocating saw to cut.
A reciprocating saw is a portable electric saw that includes a blade that can cut into and out of a surface. To start, use the pilot hole you drilled before. Then, cut out the hole by following the line you drew with the saw. Finally, you can remove the cut-out of the wall or the roofing piece from the hole and discard it.
Remove the Shingles
To move the flattened edge that protrudes off the construction of the attic fan. Check between these shingles and the roof below them to loosen the shingles. It is also essential to remember to remove any nails or staples with the pry bar while loosening the shingles.
When this is done, you can slide the body of the attic fan right over the hole and fit the flange under the shingles.
Fasten the Attic Fan
One effective way to do it is to screw the corners of the flange into the roofing surface. You can start with the bottom two corners in this regard.
You can find two screw holes at the bottom edges of the fan’s flange, one on each side of the blade. The attic fan will be secured to your roof by screwing the flange. But before screwing them into place, check if the edges of the flange are appropriately aligned with the shingles.
Apply Adhesive
Building materials such as roofing adhesives are strong enough to hold objects in place. To reinstall the unfastened shingles, lift them and spread enough roofing glue between them and the fan’s flange. To reconnect these shingles again to the roof, push them firmly into the adhesive with your fingers.
You can find roofing adhesives in almost any hardware store.
Mount the Thermostat
The attic fan’s thermostat regulates power use. Locate a rafter that is near your fan. Then you can screw the thermostat into it. Once you’ve returned to your attic, you have finally installed your attic fan.
In conclusion, while installing a fan isn’t exactly a walk in the park, it’s a pretty achievable thing to get done. All that’s left to do is to do the wiring for your attic fan. We recommend you hire the service of a professional electrician near you to do it for you.
