Transform Your Home with These Simple DIY Projects: Perfect for Beginners!
Transform your living space by painting an accent wall to inject personality and depth into any room. Select a bold or complementary color, gather quality brushes and rollers, and use painter’s tape to achieve sharp, clean edges. Enhance your storage by installing floating shelves, which not only add functionality but also aesthetic appeal. Carefully measure and mark your wall, ensuring alignment before drilling. Refresh your kitchen with a backsplash update—choose peel-and-stick tiles for a quick, hassle-free installation. Measure the area, peel the backing, and press firmly for an immediate upgrade. Brighten your home with smart lighting by replacing traditional bulbs with smart LED options. Simply screw in the new bulbs and connect them to a compatible app for customizable ambiance and energy efficiency. Each project empowers beginners to wield their creativity confidently, making tangible improvements with minimal tools and expertise required.
Getting Started: Essential Tools and Materials
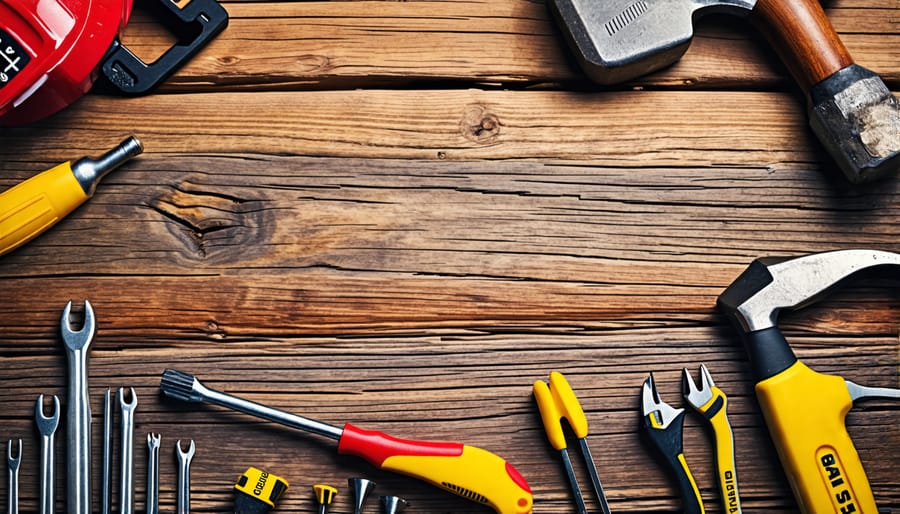
Basic Tools Every Beginner Needs
For those just starting out with DIY home improvement projects, having the right tools is crucial. Begin with a sturdy hammer, perfect for everything from hanging pictures to light demolition. A set of screwdrivers, both flathead and Phillips, will cover a variety of tasks, from assembling furniture to tightening fixtures. A reliable tape measure is essential for accuracy in cutting and placement. Add a utility knife for cutting materials with precision and a set of pliers for gripping and twisting tasks. Lastly, an adjustable wrench will help with plumbing and assembly tasks, making it a versatile tool in your kit.
Materials to Keep in Stock
Having the right materials on hand can make your DIY projects run smoothly. Stock up on essentials like wood for crafting shelves or small furniture pieces, nails, and screws for assembling and securing items. Quality paints are crucial for refreshing walls or adding flair to old furniture. Keep various adhesives such as wood glue or general-purpose adhesive for fixing and joining materials seamlessly. Sandpaper is handy for smoothing surfaces before painting or varnishing. Don’t forget caulk for sealing gaps around windows or fixtures. With these basics in your toolkit, you’ll be ready to tackle a wide array of beginner-friendly home improvement projects.
Simple DIY Furniture Projects
Building a Custom Bookshelf
Building a custom bookshelf is an excellent project for beginners eager to enhance their living or working space. Start by gathering materials like plywood, screws, wood glue, a tape measure, and basic woodworking tools. Begin with measuring and cutting the wood to your desired shelf size. Make sure to sand the edges for a smooth finish, which ensures the bookshelf stays sturdy and safe in your space.
Next, assemble the bookshelf by joining side panels to the base with screws and wood glue, reinforcing them with a clamp to maintain sturdiness. Install shelves at equal intervals to accommodate various book sizes. Painting or staining your bookshelf adds a personal touch and protects the wood. Before mounting, consider your room’s layout and choose a suitable location that enhances your room’s aesthetics, perhaps adding to a quality office environment. As you complete this project, you’ll gain confidence handling basic woodworking tasks and enjoy the satisfaction of a functional, personalized piece in your home.
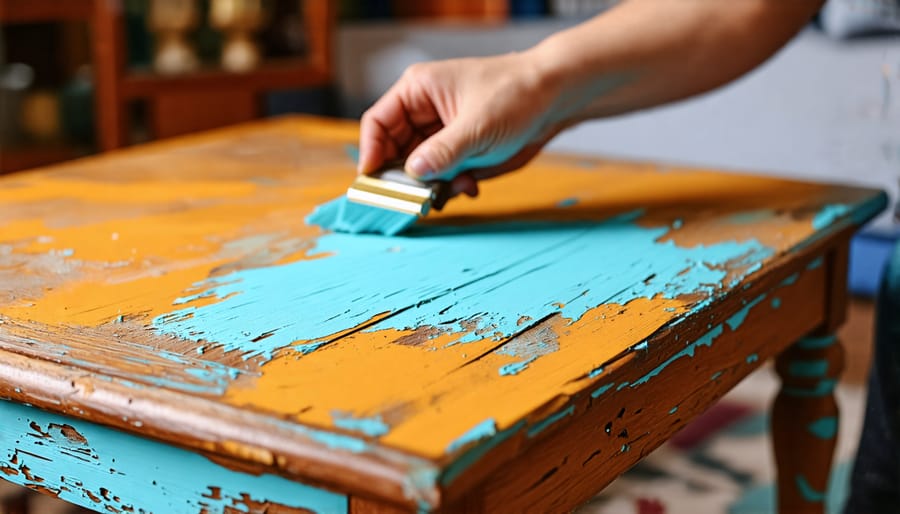
Coffee Table Makeover
Transforming an old coffee table with a fresh coat of paint or stain is a delightful project for DIY newbies. Start by selecting a color that complements your room’s decor or a stain that enhances the natural wood grain. Gather your supplies: sandpaper, primer, paint or stain, brushes, and a clear protective finish. First, lightly sand the table to remove any existing finish and create a smooth surface. Wipe away the dust with a damp cloth. Next, apply primer if you plan to paint, ensuring an even coat to help the paint adhere better. Once dry, paint the table using smooth, even strokes, or apply stain with a cloth, following the wood’s grain. Allow sufficient drying time between coats. Finish with a clear sealant for durability, letting it dry completely before use. This straightforward refresh will give your living area a personalized touch with a dash of newfound style.
Crafting Your Own Wall Shelves
Creating your own floating wall shelves is a straightforward and rewarding DIY project perfect for beginners. To start, gather your materials: wooden boards (choose sturdy hardwood like oak or walnut), brackets, screws, a drill, a level, and a stud finder. Begin by measuring and marking the desired spot on the wall where you want the shelves. Use the stud finder to locate the studs and position the brackets accordingly for the best support.
Next, drill holes into the wall and fix the brackets securely with screws. Ensure they are level for a perfect finish. Place your wooden boards onto the brackets and attach them securely. For added stability, consider using wall anchors if you can’t align with studs directly. It’s crucial to double-check the level of each shelf to create a uniform look.
These simple yet stylish floating shelves can enhance your living space by providing extra storage and a dash of personality. Keep in mind that they can be customized in any finish or stain to match your interior style, making them a versatile addition to any room.
Home Improvements That Instantly Upgrade Aesthetic
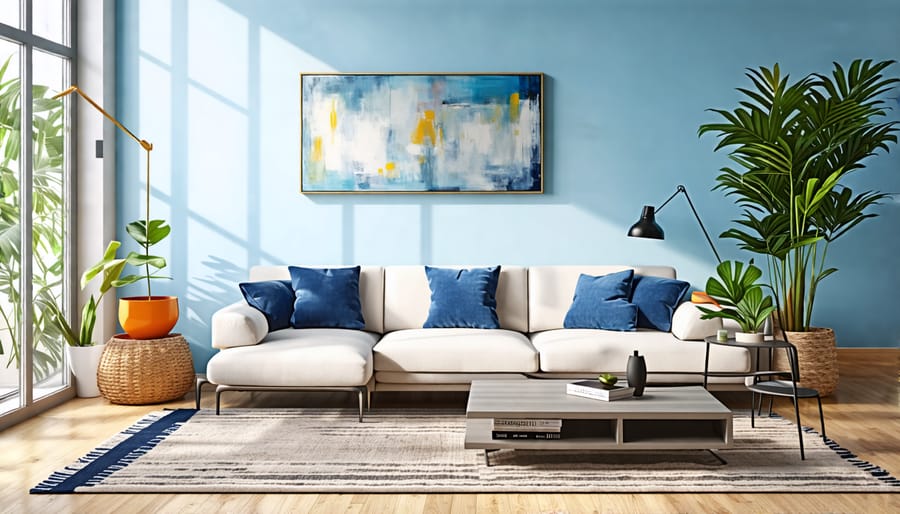
Refreshing Room with a New Coat of Paint
Updating your room with a fresh coat of paint is an easy and satisfying way to breathe new life into your space. Start by choosing a color that complements your furniture and lighting. Soft, neutral tones like beige and light gray are versatile, while bolder shades can make a striking statement. Before you start, ensure your walls are clean and smooth, filling any holes or cracks.
For a professional finish, use painter’s tape to protect the edges and corners. Stir your paint thoroughly and apply it using a roller for large areas and a brush for corners and edges. Work in small sections, using a ‘W’ or ‘M’ motion to avoid streaks. Consider using a primer for the best results, especially if you’re painting over a darker color.
Lastly, allow ample drying time between coats. Painting may seem daunting at first, but with the right prep and technique, you’ll transform your room into a space you’ll love spending time in.
Installing a New Light Fixture
Replacing a light fixture is a fantastic way to enhance your room’s ambiance and add a personal touch to your home. Whether you’re a beginner or a seasoned DIY enthusiast, this project is entirely doable with the right guidance. First things first, ensure your safety by turning off the power to the fixture at the circuit breaker. Double-check that the power is off by trying to switch on the light.
Next, carefully remove the old fixture. Start by unscrewing any decorative elements and detaching the fixture from the mounting bracket. Remember to support the fixture as you disconnect the wires. Generally, there will be three wires: black (hot), white (neutral), and a green or copper (grounding). Note how they’re connected and gently untwist them.
Now, it’s time to install the new fixture. Attach the new mounting bracket that came with your fixture to the electrical box. Connect the wires from your fixture to the corresponding wires in your ceiling, typically following the color codes: black to black, white to white, and green or copper to the ground wire. Secure these connections with wire nuts.
Finally, affix your new light fixture to the mounting bracket and screw in any bulbs. Restore power at the breaker and switch on your new fixture to bask in the refreshed glow of your space. Remember to explore creative lighting options, like bulbs with smart technology, to give your lighting an extra modern touch.
Maintenance and Safety Checks: A Simple DIY Routine
Regular Maintenance Tips
Keeping your DIY projects in top shape can be simple with regular maintenance. Start by dusting and cleaning surfaces with gentle products to prevent buildup and scratches. For furniture, tighten any loose screws or fittings to ensure stability. Inspect your work periodically for minor wear and tear, addressing issues before they worsen. If you’re dealing with structural challenges like uneven surfaces, consider researching uneven floors solutions for guidance. Refresh painted areas by touching up chips, and always use coasters or pads under heavy items to protect your floors and furniture from dents and water damage.
DIY Safety Best Practices
Embarking on DIY home improvement projects can be both exciting and rewarding, but safety should always be your top priority. Before diving in, make sure you’re equipped with the right protective gear. Always wear safety goggles to shield your eyes from flying debris, and don durable gloves to protect your hands from sharp tools and rough materials. A well-fitted dust mask or respirator is crucial when working in dusty environments or with chemicals. It’s also wise to keep a first-aid kit nearby for minor accidents.
Using tools correctly is another cornerstone of DIY safety. Read and follow the manufacturer’s instructions for every tool you use, and ensure they are in good condition. If you’re working on a ladder, place it on stable ground and never overreach—better safe than sorry. Always maintain a clean and organized workspace to prevent trips and falls. Remember, there’s no rush in DIY; taking it slow and steady will keep you safe and make your project more enjoyable.
Conclusion
Embarking on the journey of DIY projects can be incredibly rewarding, offering both personal satisfaction and tangible improvements to your space. By beginning with simple projects, you not only unlock the potential of enhancing your home but also gradually build confidence in your DIY skills. Engaging in these activities allows for a creative outlet, often transforming mundane environments into personalized sanctuaries. Whether it’s a fresh coat of paint, crafting a unique shelf, or discovering interior design secrets, each project serves as a stepping stone in mastering the art of home improvement.
Moreover, tackling easy projects equips you with essential knowledge in tool usage and safety practices, ensuring that you’re prepared for more ambitious endeavors down the line. Encouraging you to start small, we invite you to explore the myriad of possibilities that DIY offers. With each project, you not only enhance your living space but also cultivate a skill set that empowers you to bring your creative visions to life. Begin today and watch as your confidence and capability grow hand in hand with every completed project. Remember, the only limit is your imagination.