Breathe New Life into Beloved Old Furniture: A DIY Restoration Guide
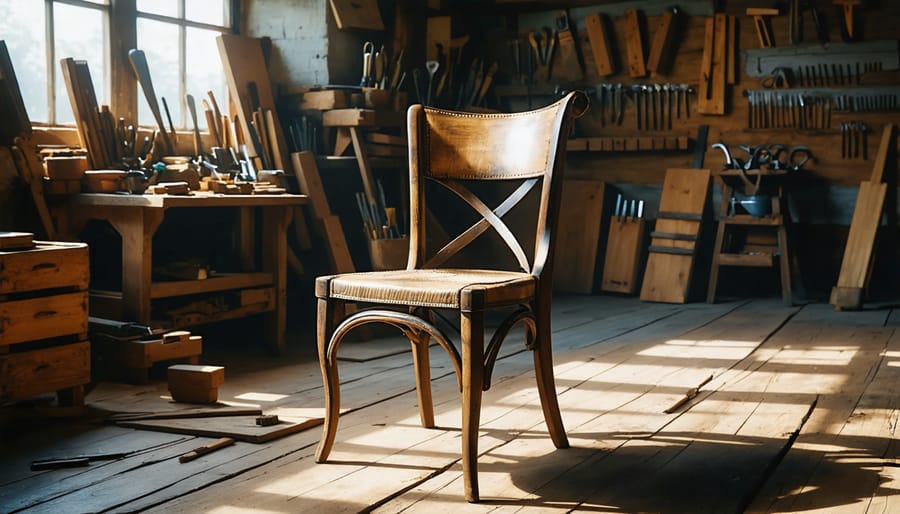
Transform your cherished heirlooms and flea market finds into stunning centerpieces with these expert furniture restoration techniques. Uncover the sentimental value hidden beneath years of wear by carefully stripping old finishes, sanding away imperfections, and applying fresh stains or paints to revitalize the wood. Replace worn hardware, re-glue loose joints, and fortify structural elements to ensure your piece stands strong for generations. With patience, attention to detail, and these simple DIY projects, you’ll breathe new life into vintage furnishings while preserving their storied past. Embrace the imperfections that make each piece unique, and showcase your handiwork proudly as a testament to the enduring beauty of quality craftsmanship.
Assessing the Piece
Signs of Structural Damage
Before diving into your furniture restoration project, it’s crucial to assess the piece for any structural damage. Start by carefully inspecting the joints, looking for signs of looseness, separation, or breakage. Gently wiggle the joints to check for stability. Next, examine the furniture for missing parts, such as legs, drawers, or decorative elements. Make note of any components that need to be replaced or recreated.
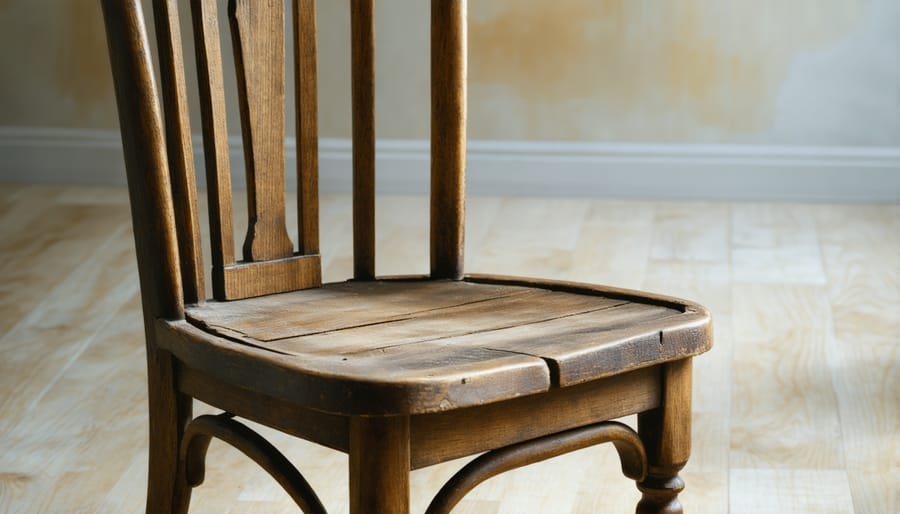
Take a close look at the wood surface, searching for splits and cracks. Pay extra attention to areas exposed to moisture or heat, as these conditions can cause the wood to expand and contract, leading to damage. If you find any splits or cracks, determine their depth and length to assess the severity of the issue. Minor surface cracks can often be easily repaired, while deeper structural cracks may require more extensive work or professional assistance.
Cosmetic Issues to Address
Before diving into your furniture restoration project, carefully examine the piece for cosmetic issues that need attention. Look for worn or chipped finishes, water rings, heat marks, scratches, dents, and gouges. Minor surface scratches can often be buffed out, while deeper ones may require filling. Dents can usually be steamed out using a damp cloth and iron. Stains can be lightened with a wood bleach or sanded out if they’ve penetrated deeply. Make a list of all the imperfections you find, so you can plan your restoration approach accordingly and gather the necessary supplies. Addressing these cosmetic issues will help bring your old furniture back to its former glory.


Gathering Supplies
Protective Gear
When working with chemicals like strippers, stains, and finishes, always wear protective gloves, safety goggles, and a dust mask or respirator. These will shield your skin, eyes, and lungs from harmful substances and airborne particles. Choose gloves made from solvent-resistant materials, and ensure your mask or respirator is rated for the products you’re using. Proper protective gear is essential for a safe and successful furniture restoration project.
Stripping and Refinishing Necessities
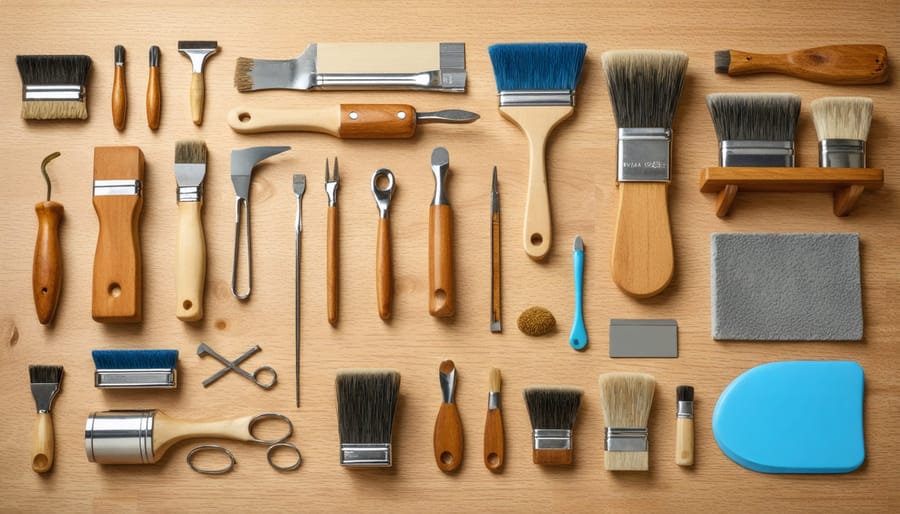
To strip and refinish old furniture, you’ll need a few essential supplies. Start with cleaning agents like mineral spirits or denaturing to remove dirt and grime. For stripping paint or varnish, use a chemical stripper applied with brushes. Once the old finish is removed, smooth the wood surface with sandpaper of varying grits. Choose your new finish, whether it’s stain, paint, or a natural look. When selecting paint, consider pet-friendly fabrics and finishes if you have furry friends. Finally, protect your hard work with a clear sealant like polyurethane. Having the right tools and supplies on hand before starting your project will make the refinishing process go more smoothly and help you achieve professional-looking results.
The Restoration Process
Disassembling and Cleaning
Before diving into restoration, carefully disassemble the piece if necessary, keeping track of all components. Remove hardware, drawers, and detachable elements. Give the furniture a thorough initial cleaning using a soft brush or vacuum to remove loose dirt and debris. For deeper cleaning, mix a gentle solution of warm water and mild dish soap. Using a soft cloth, wipe down the entire piece, paying extra attention to crevices and detailed areas. Avoid saturating the wood, as excess moisture can cause damage. If needed, employ a toothbrush or cotton swabs to clean hard-to-reach spots. Once clean, allow the piece to dry completely before proceeding with repairs and refinishing. This crucial step ensures a clean canvas for the subsequent restoration process, revealing the furniture’s true condition and any areas requiring special attention.
Stripping Old Finishes
When restoring old furniture, removing the existing finish is a crucial step. There are two main methods for stripping old finishes: chemical strippers and sanding. Chemical strippers are often the most effective option, as they can quickly and easily dissolve multiple layers of paint, varnish, or lacquer. Look for a stripper that is appropriate for your furniture’s material and the type of finish you’re removing. Apply the stripper according to the manufacturer’s instructions, allowing it to sit for the recommended time before scraping off the loosened finish with a putty knife or scraper. For stubborn finishes, you may need to repeat the process.
Sanding is another option, particularly for removing thinner layers of finish or for spot-treating areas. Start with a coarse-grit sandpaper (60-80 grit) to remove the bulk of the finish, then progress to finer grits (100-150) to smooth the surface. Be cautious when sanding, as excessive sanding can damage the wood. Always sand in the direction of the wood grain to minimize scratches. Regardless of the method you choose, work in a well-ventilated area and wear protective gloves and a mask to avoid inhaling dust or chemical fumes. Once you’ve stripped the old finish, your furniture will be ready for the next steps in the restoration process.
Making Repairs
Before diving into the cosmetic aspects of furniture restoration, it’s crucial to address any structural issues. Carefully inspect your piece for loose joints, wobbly legs, or broken elements. Tighten loose screws, reinforce joints with wood glue, and clamp them until dry. For more severe damage, you may need to disassemble the piece and reassemble it with new hardware or additional support.
Next, fill any cracks, gouges, or deep scratches with wood filler, following the product instructions for application and drying times. Once dry, sand the filled areas smooth, blending them seamlessly with the surrounding wood.
If your furniture has missing elements, such as decorative trim, spindles, or replacing missing elements may be necessary. Search for replacement parts at hardware stores, vintage shops, or online marketplaces. If an exact match isn’t available, consider using a similar piece and modifying it to fit, or even crafting a new element from scratch using wood and power tools.
With the structural repairs complete, your furniture piece is now ready for the next steps in its transformation. Take pride in knowing that you’ve given new life to a sturdy foundation, setting the stage for a beautifully restored item that will serve you well for years to come.

Sanding and Prepping for New Finish
After cleaning and making any necessary repairs, it’s time to sand the furniture to create a smooth surface for the new finish. Start with a medium-grit sandpaper and work your way up to a fine-grit for a polished look. Pay extra attention to corners, crevices, and detailed areas. If you’re working with an intricately carved piece, use a detail sander or sanding sponge to reach those tight spots. Wipe away any dust with a tack cloth, ensuring the surface is clean and debris-free before moving on to the finishing stage. With proper sanding and prepping, your furniture will be ready for a flawless new finish.
Applying Stain or Paint
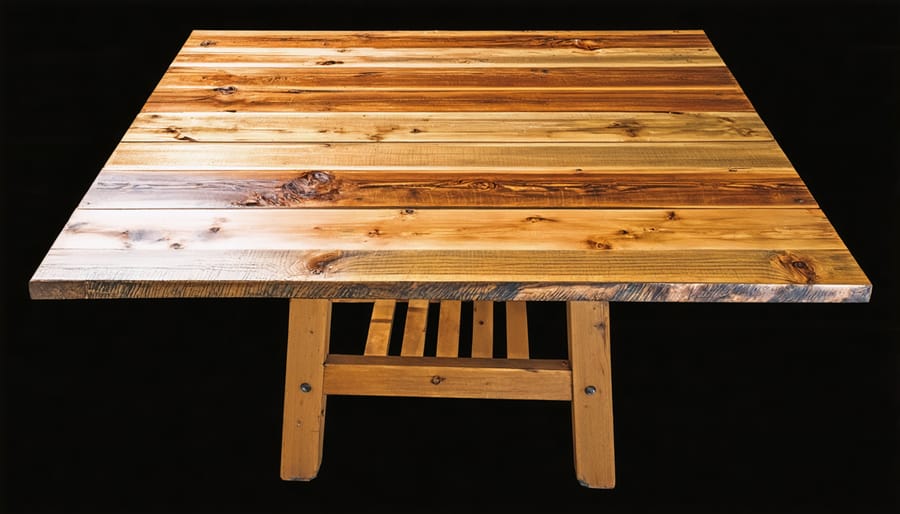
When applying stain or paint, use long, even strokes in the direction of the wood grain for a smooth finish. Apply thin, uniform coats, allowing each layer to dry completely before adding the next. For stain, wipe off excess with a clean cloth after a few minutes to achieve the desired color intensity. With paint, lightly sand between coats for a smoother result. Ensure proper ventilation and allow ample drying time, typically 24-48 hours, before handling the furniture or applying any protective topcoat. Be patient and take your time to achieve a professional-looking finish that will revitalize your old furniture.
Conclusion
Restoring old furniture is a rewarding experience that not only breathes new life into cherished pieces but also provides a sense of accomplishment and pride. By following the steps outlined in this guide and utilizing the right tools and techniques, you can transform your worn-out furniture into stunning, functional pieces that will be cherished for years to come. Remember, the key to success is patience, attention to detail, and a willingness to learn and adapt as you go. With practice and perseverance, you’ll soon be tackling more complex projects and sharing your newfound skills with others. For additional inspiration and resources, be sure to explore online forums, DIY blogs, and local workshops where you can connect with like-minded individuals and continue to grow your furniture restoration expertise. For further ideas, check out restored furniture ideas that offer basic DIY restoration projects perfect for expanding your skills.
