Create Your Own Sanctuary: 5 Stylish DIY Desk Divider Ideas
Transform a plain desk into a productivity powerhouse by building your own custom desk divider to improve your home office. Repurpose an old bookshelf or wooden room divider, attaching it securely to the back of your desk. Create a fabric-covered particleboard screen, customizing the height and width to your desk’s dimensions. Craft a rustic wooden divider using reclaimed wood planks, staining or painting them to match your office decor. Add practical elements like corkboard, wire grids, or whiteboards to your divider for enhanced functionality and organization.
Types of DIY Desk Dividers
Wood Panel Dividers
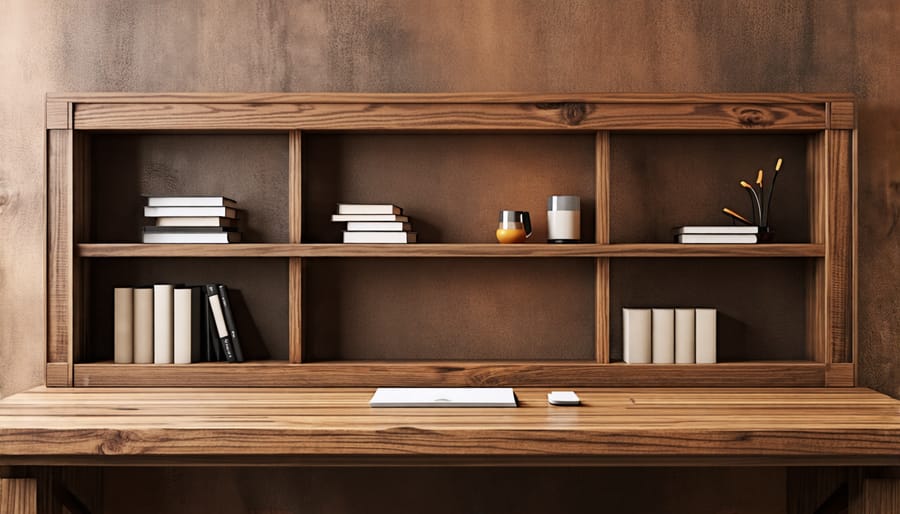
Creating wood panel dividers is a classic and stylish way to partition your desk space. Start by selecting wood boards in your desired size and thickness. Common options include plywood, MDF, or solid wood planks. Sand the boards smooth and apply wood stain or paint in a color that complements your decor. Allow ample drying time between coats for the best finish.
To elevate your divider’s appearance, consider adding decorative molding along the edges. Measure and cut the molding to fit, then attach it using wood glue and finish nails. Fill any nail holes with wood putty and touch up the paint or stain as needed.
Assemble your divider by connecting the panels using hinges, allowing you to adjust the angles and create a folding screen effect. Alternatively, secure the panels in a fixed position using L-brackets or a sturdy base.
Essential tools for this project include a saw (circular, table, or hand saw), sander, drill, measuring tape, and a paintbrush or roller. With careful measuring, cutting, and a bit of creativity, you can craft a beautiful and functional wood panel divider that enhances your workspace’s organization and aesthetics.
Fabric-Covered Dividers
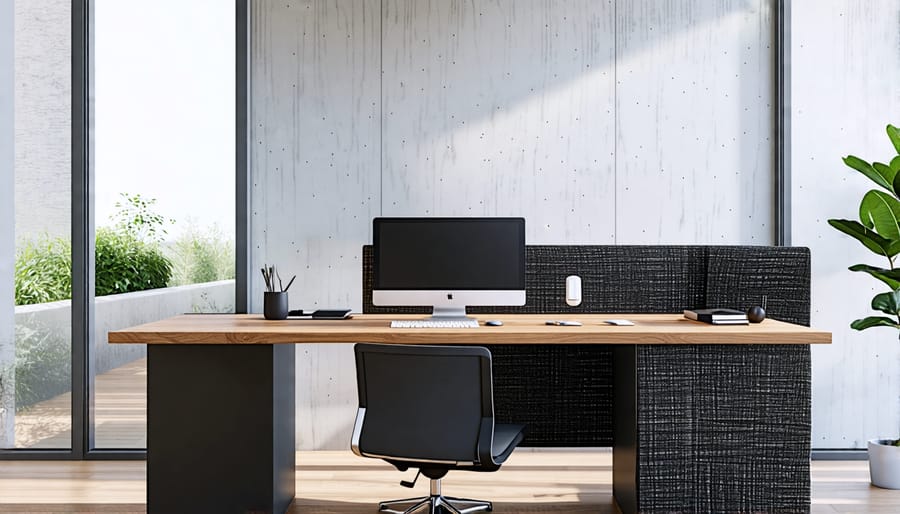
Creating a fabric-covered desk divider is an elegant way to add privacy and style to your workspace. Start by building a simple wooden frame slightly larger than your desired divider size. For a lightweight option, use a staple gun to attach stretched canvas or linen fabric to the frame. For a more luxurious look, wrap the frame in foam padding before covering it with a plush velvet or textured upholstery fabric.
When choosing fabrics, consider both aesthetics and practicality. Bold patterns and vibrant colors can energize your space, while neutral tones create a calming atmosphere. If you share your office with furry friends, opt for pet-friendly fabrics that are durable and easy to clean. For a cohesive look, match your fabric to existing decor elements like curtains, rugs, or throw pillows.
To add visual interest and dimension, experiment with different textures and layering techniques. For example, you could create a color-blocked design by covering each panel of the divider in a different fabric. Alternatively, add decorative nailhead trim or fabric piping along the edges for a polished, tailored appearance. With endless fabric options and customization possibilities, an upholstered desk divider is a perfect way to express your unique style while creating a more productive and inviting workspace.
Acrylic or Plexiglass Dividers
For a sleek, modern look, acrylic or plexiglass dividers offer a minimalist aesthetic while still providing separation and privacy. These transparent panels create an open feel, letting light pass through while defining distinct workspaces. To create your own plexiglass desk dividers, start by measuring your desk and determining the desired height and width of your panels. Using a scoring knife or utility knife, carefully score the plexiglass along your cut lines. Place the scored line over the edge of a table and apply firm, even pressure to snap the plexiglass cleanly along the score. Sand any rough edges for a smooth finish.
To install the dividers, you have several options. For a freestanding panel, attach small L-brackets to the bottom corners and secure them to the desk with adhesive or small screws. Alternatively, create a slot in a wooden base and slide the plexiglass in for a stylish, removable option. You can also use clear acrylic cement to bond the divider directly to the desk surface for a permanent installation. Consider adding frosted window film or etched designs to the plexiglass for added privacy and visual interest. With a few simple tools and minimal hardware, you can create a custom acrylic desk divider that enhances your workspace’s functionality and style.
Pegboard Dividers
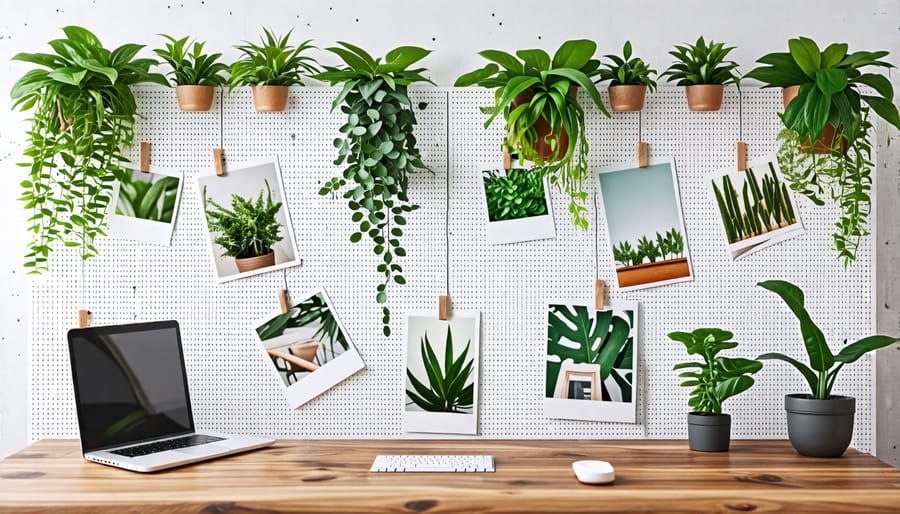
A pegboard desk divider is a versatile solution that combines privacy and storage in one stylish piece. To create your own, start with a standard pegboard panel sized to fit your desk. Give it a fresh coat of paint in a color that complements your workspace decor. White and neutral tones provide a clean, professional look, while bold hues add a pop of personality. Once the paint dries, it’s time to customize your divider with functional accessories.
Pegboard hooks are perfect for hanging headphones, small baskets, or even plants to bring a touch of nature to your desk. Attach small shelves to hold notebooks, supplies, or decorative items. For a sleek, modern look, opt for metal wire baskets or trays in gold or silver finishes. If you prefer a more whimsical style, find colorful plastic or woven textile bins to add visual interest.
Don’t forget about cable management! Use zip ties or velcro straps to keep cords tidy and out of sight behind the pegboard. You can even mount a small power strip directly on the board for easy access to charging ports. With a little creativity and some basic supplies, a pegboard desk divider becomes a multifunctional accessory that enhances both the form and function of your workspace.
Personalizing Your DIY Desk Divider
To personalize your desk divider, consider painting techniques like color blocking, ombre effects, or geometric patterns. Stencils are a great way to add intricate designs – simply tape the stencil to the divider and paint over it. For a unique look, try decoupage by gluing decorative paper or fabric to the divider and sealing with multiple coats of decoupage glue. These techniques let you express your style while elevating the divider’s appearance.
Adding personal touches to your DIY desk divider can make your workspace feel more inspiring and uniquely yours. Hang cherished photos, artwork, or mementoes that bring you joy and motivation. Consider attaching small shelves or hooks to display plants, figurines, or other decorative items. Use washi tape, magnets, or clips to easily swap out the displays to keep your space fresh. Have fun expressing your personality and creating an environment that sparks creativity and productivity.
Conclusion
Creating your own desk divider is a rewarding and cost-effective way to enhance your workspace. Whether you’re looking to boost productivity, add privacy, or express your personal style, a DIY desk divider offers numerous benefits. By following the step-by-step instructions and exploring the various design options, you can craft a divider that perfectly suits your needs and complements your office decor. Don’t be afraid to get creative and experiment with different materials, colors, and patterns to make your divider truly unique. With a little effort and imagination, you’ll have a functional and stylish desk divider that you can be proud of. So gather your supplies, set aside some time, and embark on this fun and practical DIY project. Your newly optimized workspace awaits!