Build These Smart Home Gadgets and Save Hundreds Today
Transform your living space into an automated haven for a fraction of the retail cost by building custom smart home solutions. With basic electronics knowledge and readily available components, create sophisticated devices that rival commercial offerings – from automated lighting systems to DIY security cameras. Understanding smart home integration basics unlocks endless possibilities for crafting personalized automation solutions that perfectly match your needs.
Harness the power of microcontrollers like Arduino and Raspberry Pi to develop custom sensors, switches, and monitoring systems that seamlessly connect to your existing smart home network. These affordable platforms serve as the foundation for creating everything from automated plant watering systems to voice-controlled thermostats – all while maintaining full control over your data and privacy.
Beyond the cost savings, DIY smart home devices offer unprecedented customization options and the satisfaction of building something uniquely yours. Whether you’re automating basic household functions or implementing complex multi-device scenarios, the open-source community provides robust support and countless project ideas to fuel your smart home journey.
Smart Home Basics: What You Need to Get Started
Required Tools and Materials
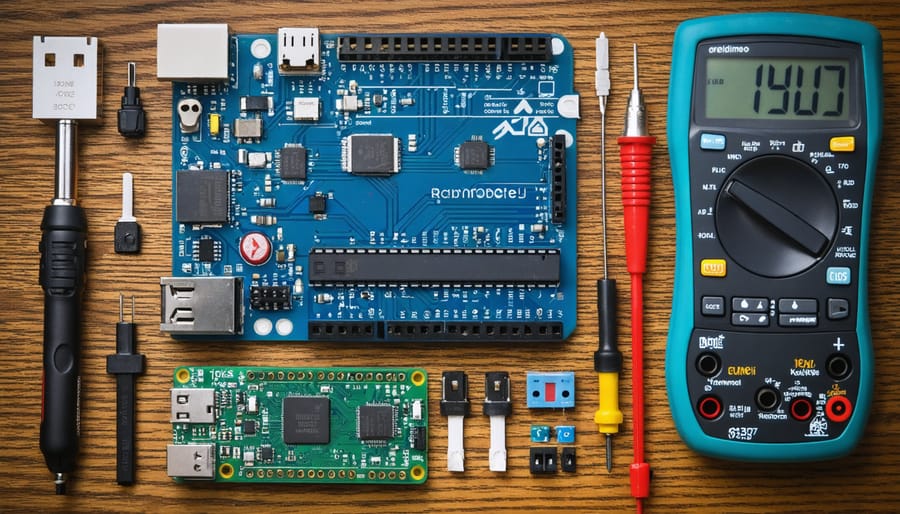
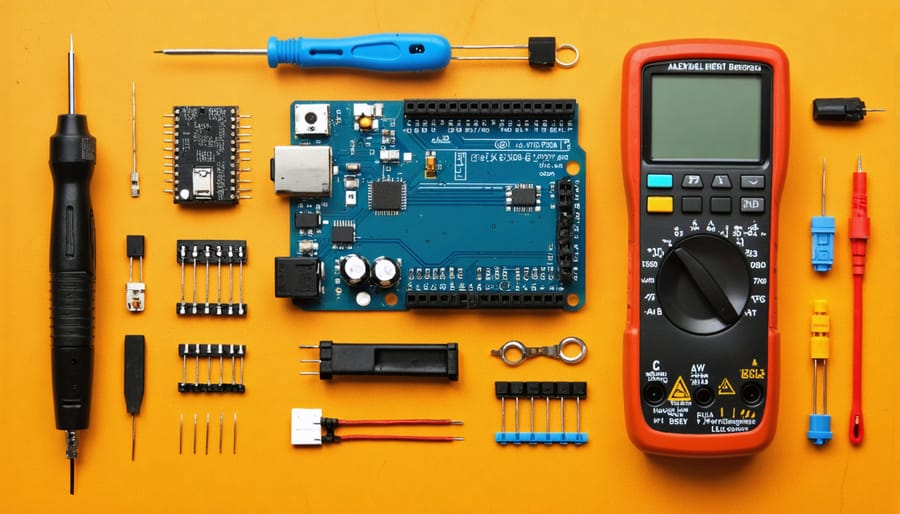
Before diving into creating your own budget-friendly smart devices, let’s gather the essential tools and materials you’ll need. For basic DIY smart home projects, you’ll want to have these common tools on hand:
Basic Tools:
– Screwdriver set (Phillips and flathead)
– Wire strippers and cutters
– Soldering iron and solder
– Multimeter
– Heat shrink tubing
– Electrical tape
Electronic Components:
– Arduino or Raspberry Pi microcontroller
– Breadboard and jumper wires
– Motion sensors
– Temperature/humidity sensors
– Relay modules
– LED lights
– Power supply units
– Project boxes or enclosures
Software and Apps:
– Arduino IDE or Raspberry Pi OS
– MQTT broker software
– Home automation platform (Home Assistant or OpenHAB)
– Basic coding knowledge (Python or C++)
Remember to always have safety equipment like protective glasses and anti-static wrist straps. Having these tools ready will make your DIY smart home journey much smoother and more enjoyable.

Basic Skills You’ll Need
While DIY smart home projects can seem daunting, you don’t need to be a tech wizard to get started. Basic soldering skills are essential for many projects, and you can learn this through online tutorials or local maker workshops. Familiarity with simple coding concepts is helpful, particularly for platforms like Arduino or Raspberry Pi, which are common in home automation power solutions.
You’ll need to understand basic electrical concepts like voltage, current, and resistance. Don’t worry – there are plenty of beginner-friendly resources available online, including video tutorials and community forums. Basic tool handling skills are also important; you should be comfortable using screwdrivers, wire strippers, and multimeters.
Most importantly, you’ll need to develop troubleshooting skills. This comes with practice and patience. Start with simple projects to build confidence, and gradually work your way up to more complex ones. Many DIY enthusiasts find that joining online communities or local maker spaces helps them learn faster and get support when needed.
Remember, these skills aren’t just useful for smart home projects – they’re valuable for many other DIY endeavors too!
5 DIY Smart Home Projects You Can Build Today

Smart Motion Sensors
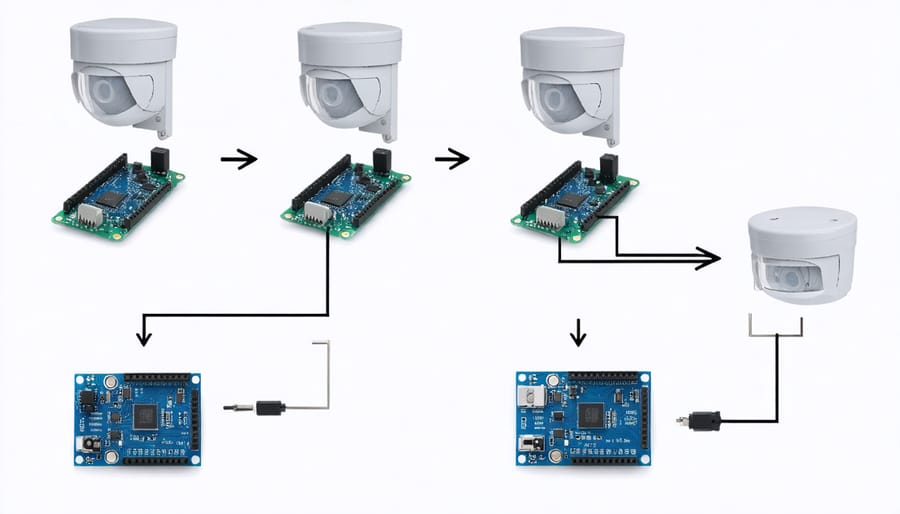
Motion sensors are a game-changing addition to any smart home setup, and creating your own is easier than you might think. With just a few affordable components and basic DIY skills, you can build motion-activated lighting systems and security alerts that rival commercial products.
To get started, you’ll need a PIR (Passive Infrared) sensor module, a microcontroller like Arduino or ESP8266, and LED strips or relay modules for controlling lights. The PIR sensor detects changes in infrared radiation caused by movement, making it perfect for detecting human activity in a space.
For a basic motion-activated light system, connect your PIR sensor to the microcontroller and program it to trigger your chosen light source when movement is detected. You can customize the sensitivity and duration of the light activation through simple code adjustments. Place these sensors in hallways, bathrooms, or outdoor areas for convenient, hands-free lighting.
To create security alerts, configure your sensor to send notifications to your smartphone when motion is detected. This can be achieved by connecting your microcontroller to your home WiFi network and using free services like IFTTT or Pushbullet for notifications.
For best results, mount sensors at chest height and angle them slightly downward. Avoid placing them near heat sources or in direct sunlight, which can trigger false alerts. You can also add features like scheduling, light sensitivity detection, and integration with other smart home devices to create a more sophisticated system.
Automated Plant Watering System
Never worry about forgetting to water your plants again with this simple yet effective automated watering system. Using basic components like an Arduino board, soil moisture sensors, and a small water pump, you can create a smart solution that keeps your indoor garden thriving.
Start by connecting a moisture sensor to your Arduino board – this will monitor the soil’s water content. When the sensor detects dry soil, it triggers the water pump to deliver just the right amount of hydration to your plants. Position a water reservoir nearby, and run thin tubing from the pump to each plant container.
The real magic happens in the programming. With a few lines of code, you can set specific moisture thresholds for different types of plants. Some prefer their soil slightly dry, while others thrive in consistently moist conditions. You can even add a small display to show real-time moisture readings and watering schedules.
For about $30-40 in materials, this system can handle multiple plants simultaneously. Consider adding a WiFi module to monitor your plants’ health through a smartphone app. You can receive notifications when water levels are low or if there’s unusual moisture activity.
This project works especially well for frequent travelers or those with busy schedules. It’s also perfect for maintaining consistent moisture levels for sensitive plants that require precise care.
Voice-Controlled Light Switches
Converting your regular light switches to voice-controlled smart switches is easier than you might think. With a few basic tools and some simple wiring knowledge, you can transform your home’s lighting into a voice-responsive system that works with popular virtual assistants like Alexa or Google Home.
Start by gathering your materials: a compatible smart switch (look for ones that don’t require a neutral wire if your home is older), a screwdriver, wire nuts, and a voltage tester. Before beginning, always turn off power at the circuit breaker and verify the power is off using your voltage tester.
Remove your existing switch plate and unscrew the switch from the electrical box. Take a photo of the current wiring configuration for reference. Disconnect the wires from your old switch, keeping track of which wire goes where. Most smart switches have clear labels for line (power), load (to the light), and ground connections.
Connect the wires to your new smart switch following the manufacturer’s instructions. Usually, this involves connecting the black (hot) wire, the white (neutral) if required, and the green or bare copper (ground) wire. Carefully tuck the wires back into the box and secure the switch.
After restoring power, follow the manufacturer’s app setup instructions to connect your switch to your home’s WiFi network. Once configured, you can test voice commands like “Turn on living room lights” or set up automated schedules through your preferred smart home platform.
Temperature Monitoring System
A multi-room temperature monitoring system is one of the most practical DIY smart home projects you can tackle. Using affordable components like ESP32 microcontrollers and DHT22 temperature sensors, you can create a network of monitors that report to a central hub.
Start by gathering your materials: one ESP32 and DHT22 sensor for each room you want to monitor, plus a few basic electronic components like resistors and connecting wires. The total cost typically runs under $10 per room, making this a budget-friendly alternative to commercial systems.
Mount each sensor unit in a small project box and position it away from direct sunlight and heat sources for accurate readings. The ESP32s can be programmed using the Arduino IDE to collect temperature data and transmit it via Wi-Fi to a Raspberry Pi or home server running Node-RED or Home Assistant.
Set up alerts to notify you when temperatures fall outside your preferred range, perfect for protecting sensitive areas like wine cellars or monitoring heating efficiency. You can even expand the system to control smart plugs connected to fans or space heaters, creating automated climate zones throughout your home.
For extra functionality, add humidity sensors to track moisture levels or connect the system to your smart home dashboard for easy monitoring from your phone. This DIY approach gives you complete control over your home’s climate data while saving hundreds compared to pre-built solutions.
Smart Garage Door Controller
Transform your garage door into a smart entry point with this straightforward DIY project. Using a Raspberry Pi or Arduino microcontroller, a relay module, and some basic components, you can create a system that lets you control your garage door from anywhere using your smartphone.
Start by connecting the relay to your existing garage door opener’s manual button terminals. This maintains your current setup while adding smart functionality. Mount your microcontroller in a weatherproof enclosure near the opener, and connect it to your home’s WiFi network.
Install a magnetic reed switch on the door frame to monitor whether the garage is open or closed. This provides real-time status updates through your phone app. For added security, incorporate a motion sensor to alert you when there’s movement in your garage.
The software side is surprisingly simple. Use pre-built libraries for your chosen microcontroller platform, and connect it to popular home automation platforms like Home Assistant or Apple HomeKit. This allows you to create schedules, receive notifications, and even set up automatic closing if you forget to shut the door.
For safety, add an audible alert and flashing LED that activate before the door moves, warning anyone nearby. The entire project typically costs under $50 and can be completed in a weekend, offering significant savings compared to commercial smart garage systems that often run $200 or more.
Integration and Troubleshooting
Connecting to Home Assistant
Connecting your DIY smart devices to Home Assistant is simpler than you might think. First, ensure you have Home Assistant installed on your preferred platform – this could be a Raspberry Pi, a dedicated computer, or even a virtual machine. Once installed, Home Assistant automatically discovers many devices on your local network.
For custom-built devices using ESP8266 or ESP32 boards, you’ll need to flash them with ESPHome firmware. This creates a seamless connection to Home Assistant and allows for easy device management. After flashing, your device will appear in the Home Assistant integration menu, ready for configuration.
If you’re using Arduino-based devices, you can connect them using MQTT. Set up an MQTT broker like Mosquitto on your Home Assistant instance, configure your Arduino code to communicate with the broker, and create corresponding sensors in Home Assistant’s configuration file.
For Zigbee-based projects, add a Zigbee coordinator like the CC2531 or ConBee II to your setup. Home Assistant will recognize your DIY Zigbee devices just like commercial ones, allowing you to control them through the same interface.
Remember to secure your devices by using strong passwords and keeping firmware updated. Once connected, you can create automations, add your devices to rooms, and control everything through Home Assistant’s user-friendly dashboard.

Common Issues and Solutions
When creating DIY smart home devices, you might encounter some common hurdles, but don’t worry – most issues have straightforward solutions. To avoid common smart home challenges, keep these troubleshooting tips handy.
Connectivity problems are often the biggest headache. If your device won’t connect to Wi-Fi, try resetting your router and ensuring your device is within range. Sometimes, moving your router to a central location or adding a Wi-Fi extender can solve connection drops.
Power issues are another frequent concern. For battery-powered devices, check voltage requirements carefully and use high-quality batteries. With hardwired projects, double-check all connections and consider adding a backup power supply for critical devices.
Programming glitches can be frustrating, but they’re usually fixable. If your code isn’t working, start by checking for syntax errors and proper pin configurations. Many microcontrollers have built-in debugging tools that can help identify the problem.
Integration challenges between different devices can occur. Start by confirming all devices use compatible protocols (like MQTT or Zigbee). When mixing different platforms, use hub software like Home Assistant or OpenHAB to bridge the gap.
Sensor calibration issues might affect accuracy. Give sensors proper warm-up time and regular recalibration. Environmental factors like temperature and humidity can impact readings, so consider adding compensation in your code.
Remember, the DIY community is incredibly supportive. If you’re stuck, online forums and communities are excellent resources for troubleshooting help.
Creating your own smart home devices can be both rewarding and cost-effective. By following proper safety guidelines and using reliable components, you can build custom solutions that perfectly match your needs while saving money. Remember to always prioritize electrical safety, double-check your connections, and test thoroughly before permanent installation. Whether you start with a simple LED controller or tackle more complex projects like automated blinds, the satisfaction of building your own smart home ecosystem is unmatched. The skills you develop along the way will serve you well in future projects, and your custom solutions can often outperform expensive commercial alternatives. Don’t be afraid to start small and gradually expand your DIY smart home – every successful project builds confidence for the next one.
