7 Smart Home Upgrades That Will Transform Your Home Today (No Tech Genius Required)
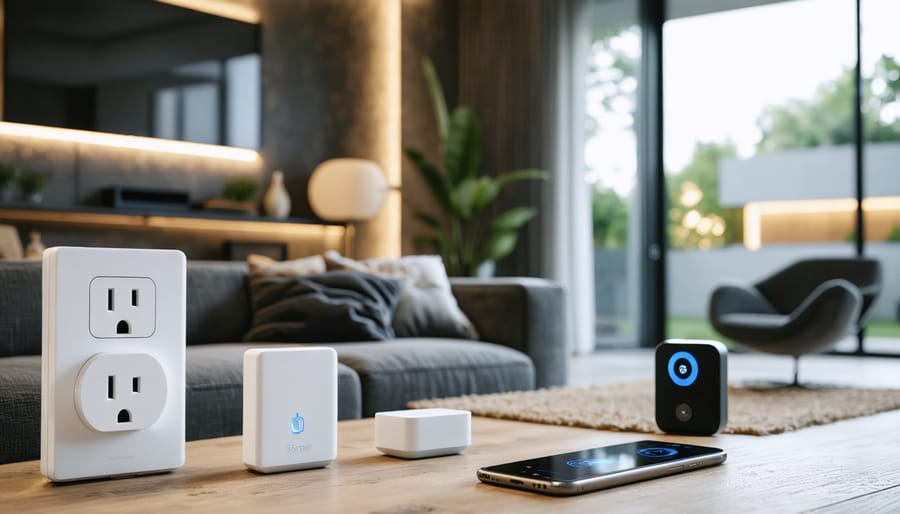
Transform your living space into a modern smart home in minutes, not days. Start with smart plugs – these $15-30 devices instantly make any lamp, coffee maker, or appliance controllable from your phone. Add voice-controlled smart bulbs to your most-used rooms, creating automated lighting schedules and instant ambiance adjustments. Install a video doorbell for under $100 to monitor deliveries and enhance security without complex wiring. These plug-and-play upgrades require zero technical expertise, work with existing Wi-Fi networks, and deliver immediate convenience through simple smartphone apps. Best of all, you can expand your smart home system gradually, adding features like smart thermostats or automated blinds as your comfort level grows. Whether you’re a tech novice or simply seeking practical home improvements, these entry-level smart devices offer the perfect balance of functionality and simplicity.
Smart Lighting Solutions That Anyone Can Install

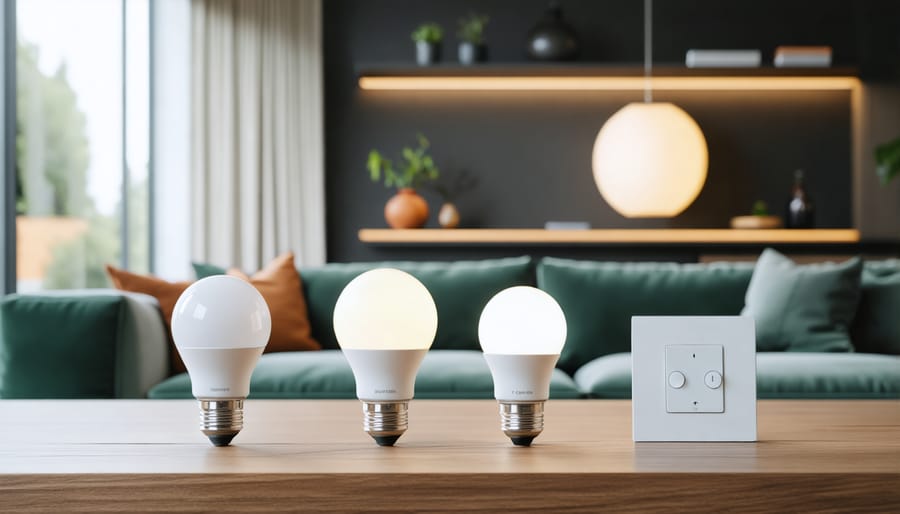
Smart Bulbs vs. Smart Switches
When it comes to smart lighting solutions, you’ll typically choose between smart bulbs and smart switches. Smart bulbs are the plug-and-play option – simply screw them in and connect to your home’s Wi-Fi. They’re perfect for renters or those wanting to start small, offering features like color changing and dimming without any wiring work. Plus, you can move them to different fixtures as needed.
Smart switches, on the other hand, require initial wiring installation but offer more comprehensive control. They work with any standard bulb and control entire fixtures rather than individual bulbs. While installation might need an electrician, they’re often more cost-effective for rooms with multiple bulbs and integrate seamlessly with your existing wall switches.
Consider your needs carefully: go with smart bulbs for flexibility and fun features, or choose smart switches for whole-room control and a more traditional look. Remember, smart switches need a neutral wire in your switch box, so check your wiring before making a decision.
Voice Control and Scheduling Made Simple
Transform your daily routines with simple voice commands and automated schedules for your lighting. Start by choosing smart bulbs or switches that work with popular voice assistants like Alexa, Google Assistant, or Siri. These devices connect to your home’s WiFi network and can be controlled through user-friendly smartphone apps.
Setting up basic automation is straightforward: Install your smart bulbs by simply screwing them into existing fixtures, or replace traditional switches with smart switches. Download the manufacturer’s app and follow the pairing instructions – typically, this involves pressing a button on the device and selecting it in the app.
Once connected, you can create schedules for your lights to turn on and off automatically. For example, set porch lights to illuminate at sunset and turn off at sunrise, or program bedroom lights to fade on gradually in the morning. Voice control adds another layer of convenience – just say “turn off living room lights” or “dim dining room to 50%” to control your lighting hands-free.
For best results, start with high-traffic areas like your living room or entryway, then expand your smart lighting system as you become more comfortable with the technology.
Temperature Control Without the Headache

15-Minute Smart Thermostat Installation
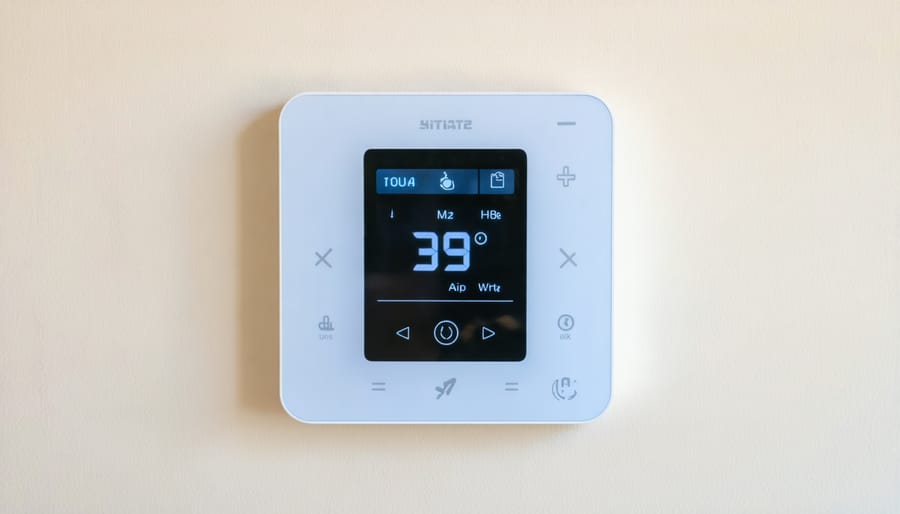
Upgrading to a smart thermostat is one of the easiest ways to reduce energy costs while adding modern convenience to your home. Here’s your simple guide to installing one in just 15 minutes:
First, turn off your HVAC system at the circuit breaker for safety. Take a photo of your existing thermostat’s wiring before removing it – this will be your reference guide. Most smart thermostats come with a mounting plate that attaches directly to your wall. Remove your old thermostat’s faceplate and carefully disconnect the wires, labeling them with the included stickers if provided.
Install the mounting plate of your new smart thermostat, making sure it’s level. Thread the wires through the center opening. Connect each wire to its corresponding terminal on the new mounting plate, matching the labels from your old setup. Most common wire colors are:
– Red (R): Power
– White (W): Heat
– Yellow (Y): Cooling
– Green (G): Fan
Once the wires are secure, attach the display unit to the mounting plate until it clicks into place. Turn the power back on at the breaker. Your smart thermostat should power up automatically.
Follow the on-screen setup instructions to connect to your Wi-Fi network. Download the manufacturer’s app on your smartphone and complete the final configuration steps. Most systems will guide you through setting basic schedules and preferences.
Remember to keep your old thermostat’s manual and any unused wire labels – they might come in handy for future reference. The entire process typically takes 15 minutes or less, and you’ll be controlling your home’s temperature from your phone in no time.
Security Made Simple
Doorbell Cameras Anyone Can Set Up
Modern doorbell cameras have become one of the easiest and most practical smart home upgrades, offering both security and convenience. Popular options like Ring and Nest doorbells come with everything you need for installation, typically requiring just a screwdriver and about 15-20 minutes of your time.
Most models connect directly to your existing doorbell wiring, though battery-powered options are available if you’re not comfortable working with electrical connections. The basic installation process involves removing your old doorbell, mounting the bracket, connecting two wires, and attaching the camera unit.
These devices let you see, hear, and talk to visitors through your smartphone, whether you’re in the kitchen or across town. Many models include motion detection, night vision, and cloud storage for recorded footage. For the best experience, make sure you have strong WiFi near your front door and download the manufacturer’s app before starting installation.
Budget-friendly options start around $100, while premium models with advanced features like package detection and pre-recorded responses can cost up to $250.
Plug-and-Play Security Cameras
Modern security cameras have come a long way from the complex, wired systems of the past. Today’s plug-and-play options make home security accessible to everyone, regardless of technical expertise. Popular models from brands like Ring, Arlo, and Eufy connect directly to your home’s Wi-Fi network and can be up and running in minutes.
Simply mount the camera using the included hardware (usually just a few screws), connect it to power, and follow the straightforward app setup process. Most cameras offer essential features like motion detection, night vision, and two-way audio communication. You can receive instant notifications on your smartphone whenever movement is detected and view live footage from anywhere.
For renters or those who prefer a non-permanent solution, many cameras come with adhesive mounting options or can simply sit on a shelf. Battery-powered models offer even more flexibility, eliminating the need for nearby power outlets. Plus, most modern security cameras integrate seamlessly with smart home systems like Alexa or Google Home, allowing you to view your camera feed on smart displays or set up automated routines.
Consider placing cameras near entry points, driveways, or other high-traffic areas for optimal coverage. Many systems can be expanded over time by adding more cameras as needed.
Smart Kitchen Upgrades Worth Your Money
The kitchen is the heart of your home, and smart upgrades here can make a real difference in your daily routine. Start with a smart faucet – these touchless wonders let you control water flow with voice commands or motion sensors, perfect for those moments when your hands are covered in cooking mess. Most models install just like regular faucets, making them an easy weekend project.
Smart kitchen displays are another game-changer. Whether it’s a wall-mounted tablet or a countertop smart display, these devices can show recipes, set multiple timers, and even help you create shopping lists. Many can also control other smart devices in your kitchen, serving as a central hub for your culinary command center.
Consider investing in smart appliances that truly earn their keep. A smart coffee maker that starts brewing before you wake up or a smart slow cooker you can control from your phone during work hours can transform your routine. For precise cooking, smart meat thermometers send notifications to your phone when food reaches the perfect temperature – no more overcooked roasts!
Don’t overlook smaller upgrades like smart plugs for your existing appliances. They can turn your regular coffee maker or toaster into scheduled devices, and they’re incredibly simple to install. Smart lighting under cabinets not only adds ambiance but can provide task lighting when you need it most.
For food storage management, smart refrigerators with internal cameras let you check your grocery needs while at the store. If that’s too big an investment, try a smart scanner or magnetic tracker to help manage your pantry inventory and reduce food waste.
Connecting Everything Together
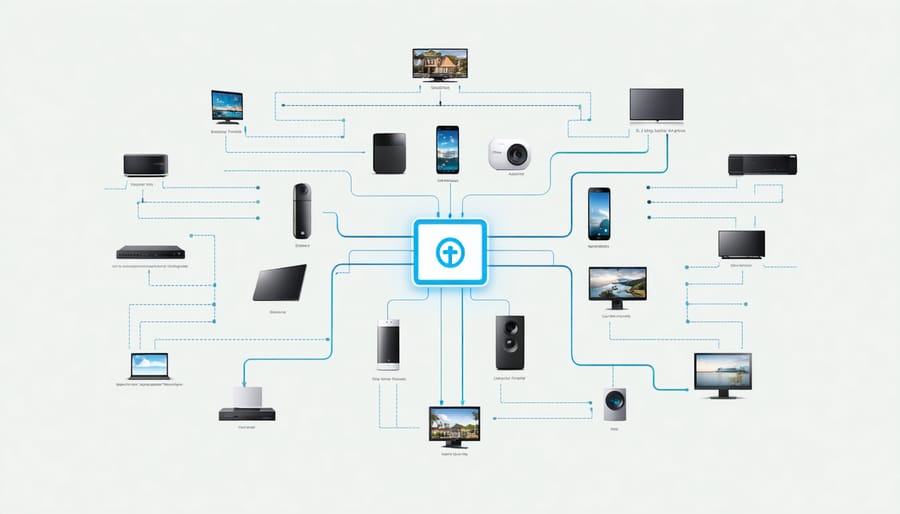
The beauty of modern smart home technology lies in how easily different devices can work together. Integrating smart home devices is simpler than ever, thanks to user-friendly hubs and apps that act as central control stations for all your gadgets.
Popular platforms like Amazon Alexa, Google Home, or Apple HomeKit can connect most of your smart devices through a single app. This means you can control your lights, thermostat, cameras, and door locks all from one place – even when you’re away from home.
Getting started is straightforward: choose a hub that works with your existing devices, download the companion app, and follow the simple setup instructions. Most devices connect through your home’s WiFi network, and the app will guide you through the pairing process step by step.
Create routines to make your devices work together automatically. For example, set your lights to dim, thermostat to adjust, and security system to arm when you say “goodnight” to your virtual assistant. These connections make your smart home truly intelligent and responsive to your needs.

Transforming your home into a smart living space doesn’t have to be complicated or expensive. By starting with just one or two of these upgrades, you can experience the convenience and efficiency that smart technology brings to everyday life. Whether you choose to begin with smart lighting to enhance your home’s ambiance, a video doorbell for added security, or a smart thermostat to save on energy bills, each small step brings you closer to a more connected and comfortable living space. Remember, the beauty of smart home technology lies in its scalability – you can always add more devices as your comfort level and needs grow. Take that first step today, and you’ll wonder how you ever lived without these modern conveniences that make life easier, safer, and more enjoyable.
